Part Two:Harvesting and drying fresh herbs
In this part of the drying herbs blog we will address other ways to dry herbs,freezing herbs, and how to dry seeds and roots. In Part one we address using a dehydrator and hanging herbs to dry. And the best way to harvest the herbs to get them ready to dry.
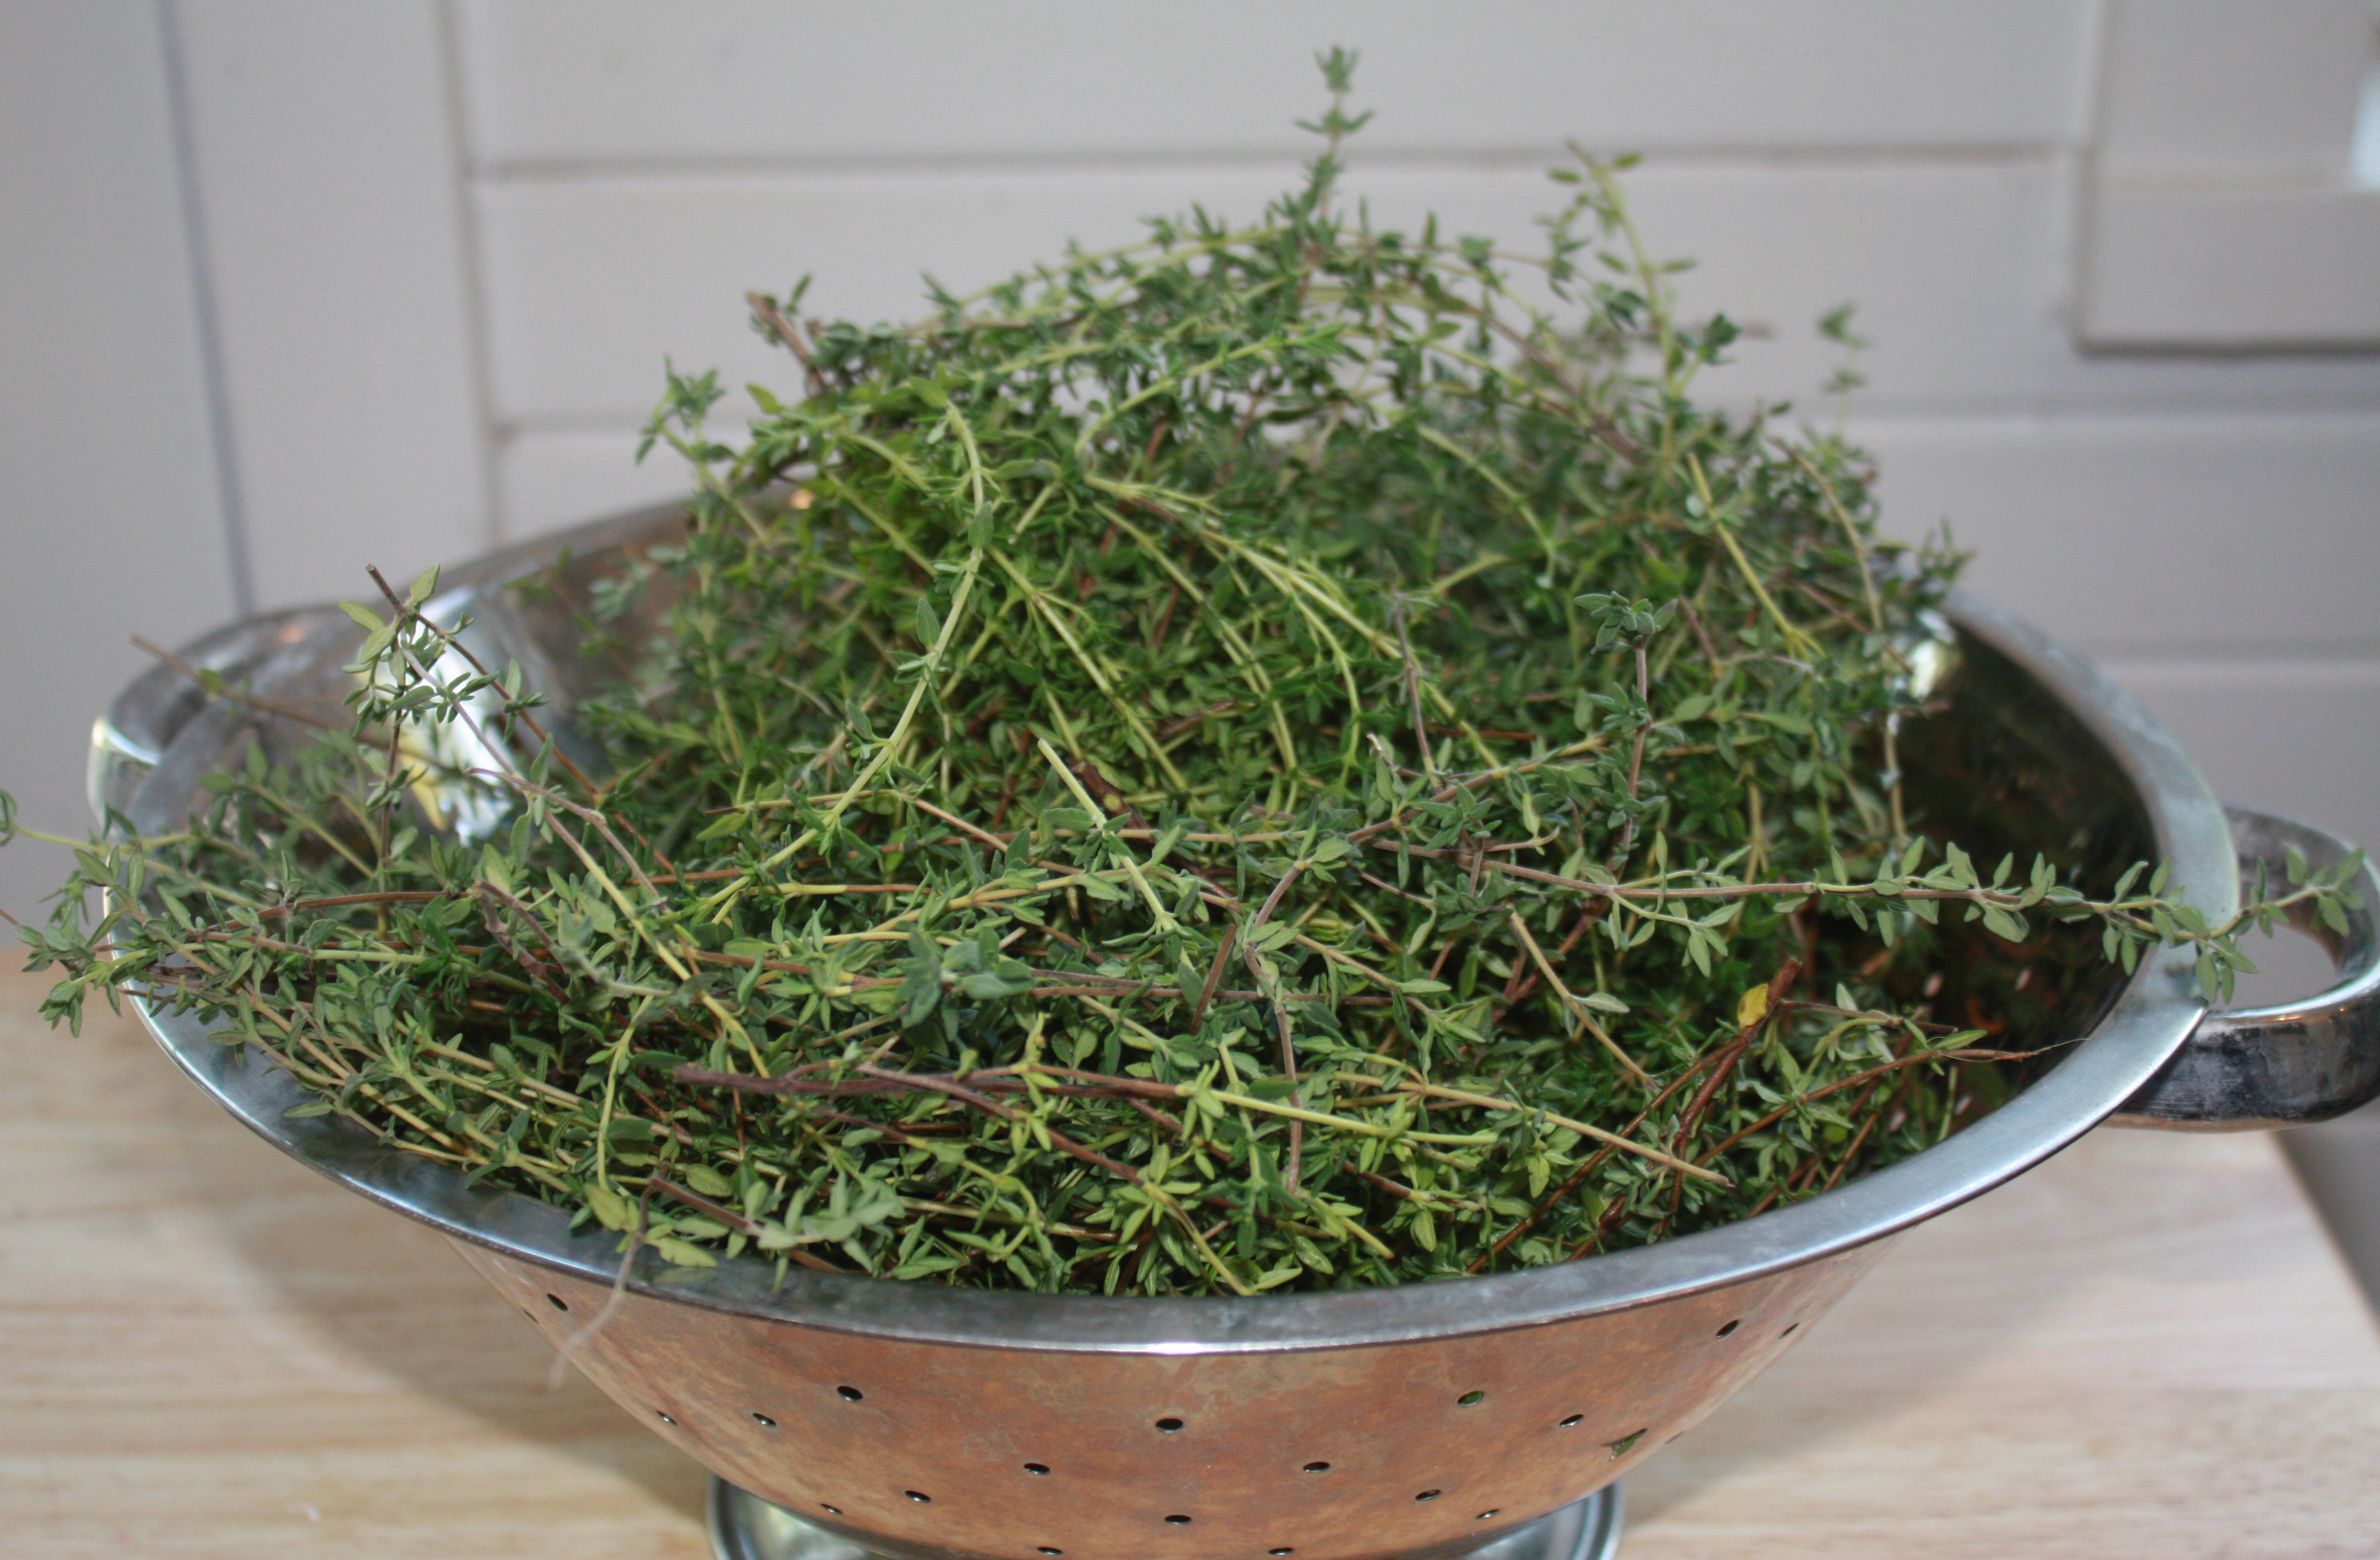
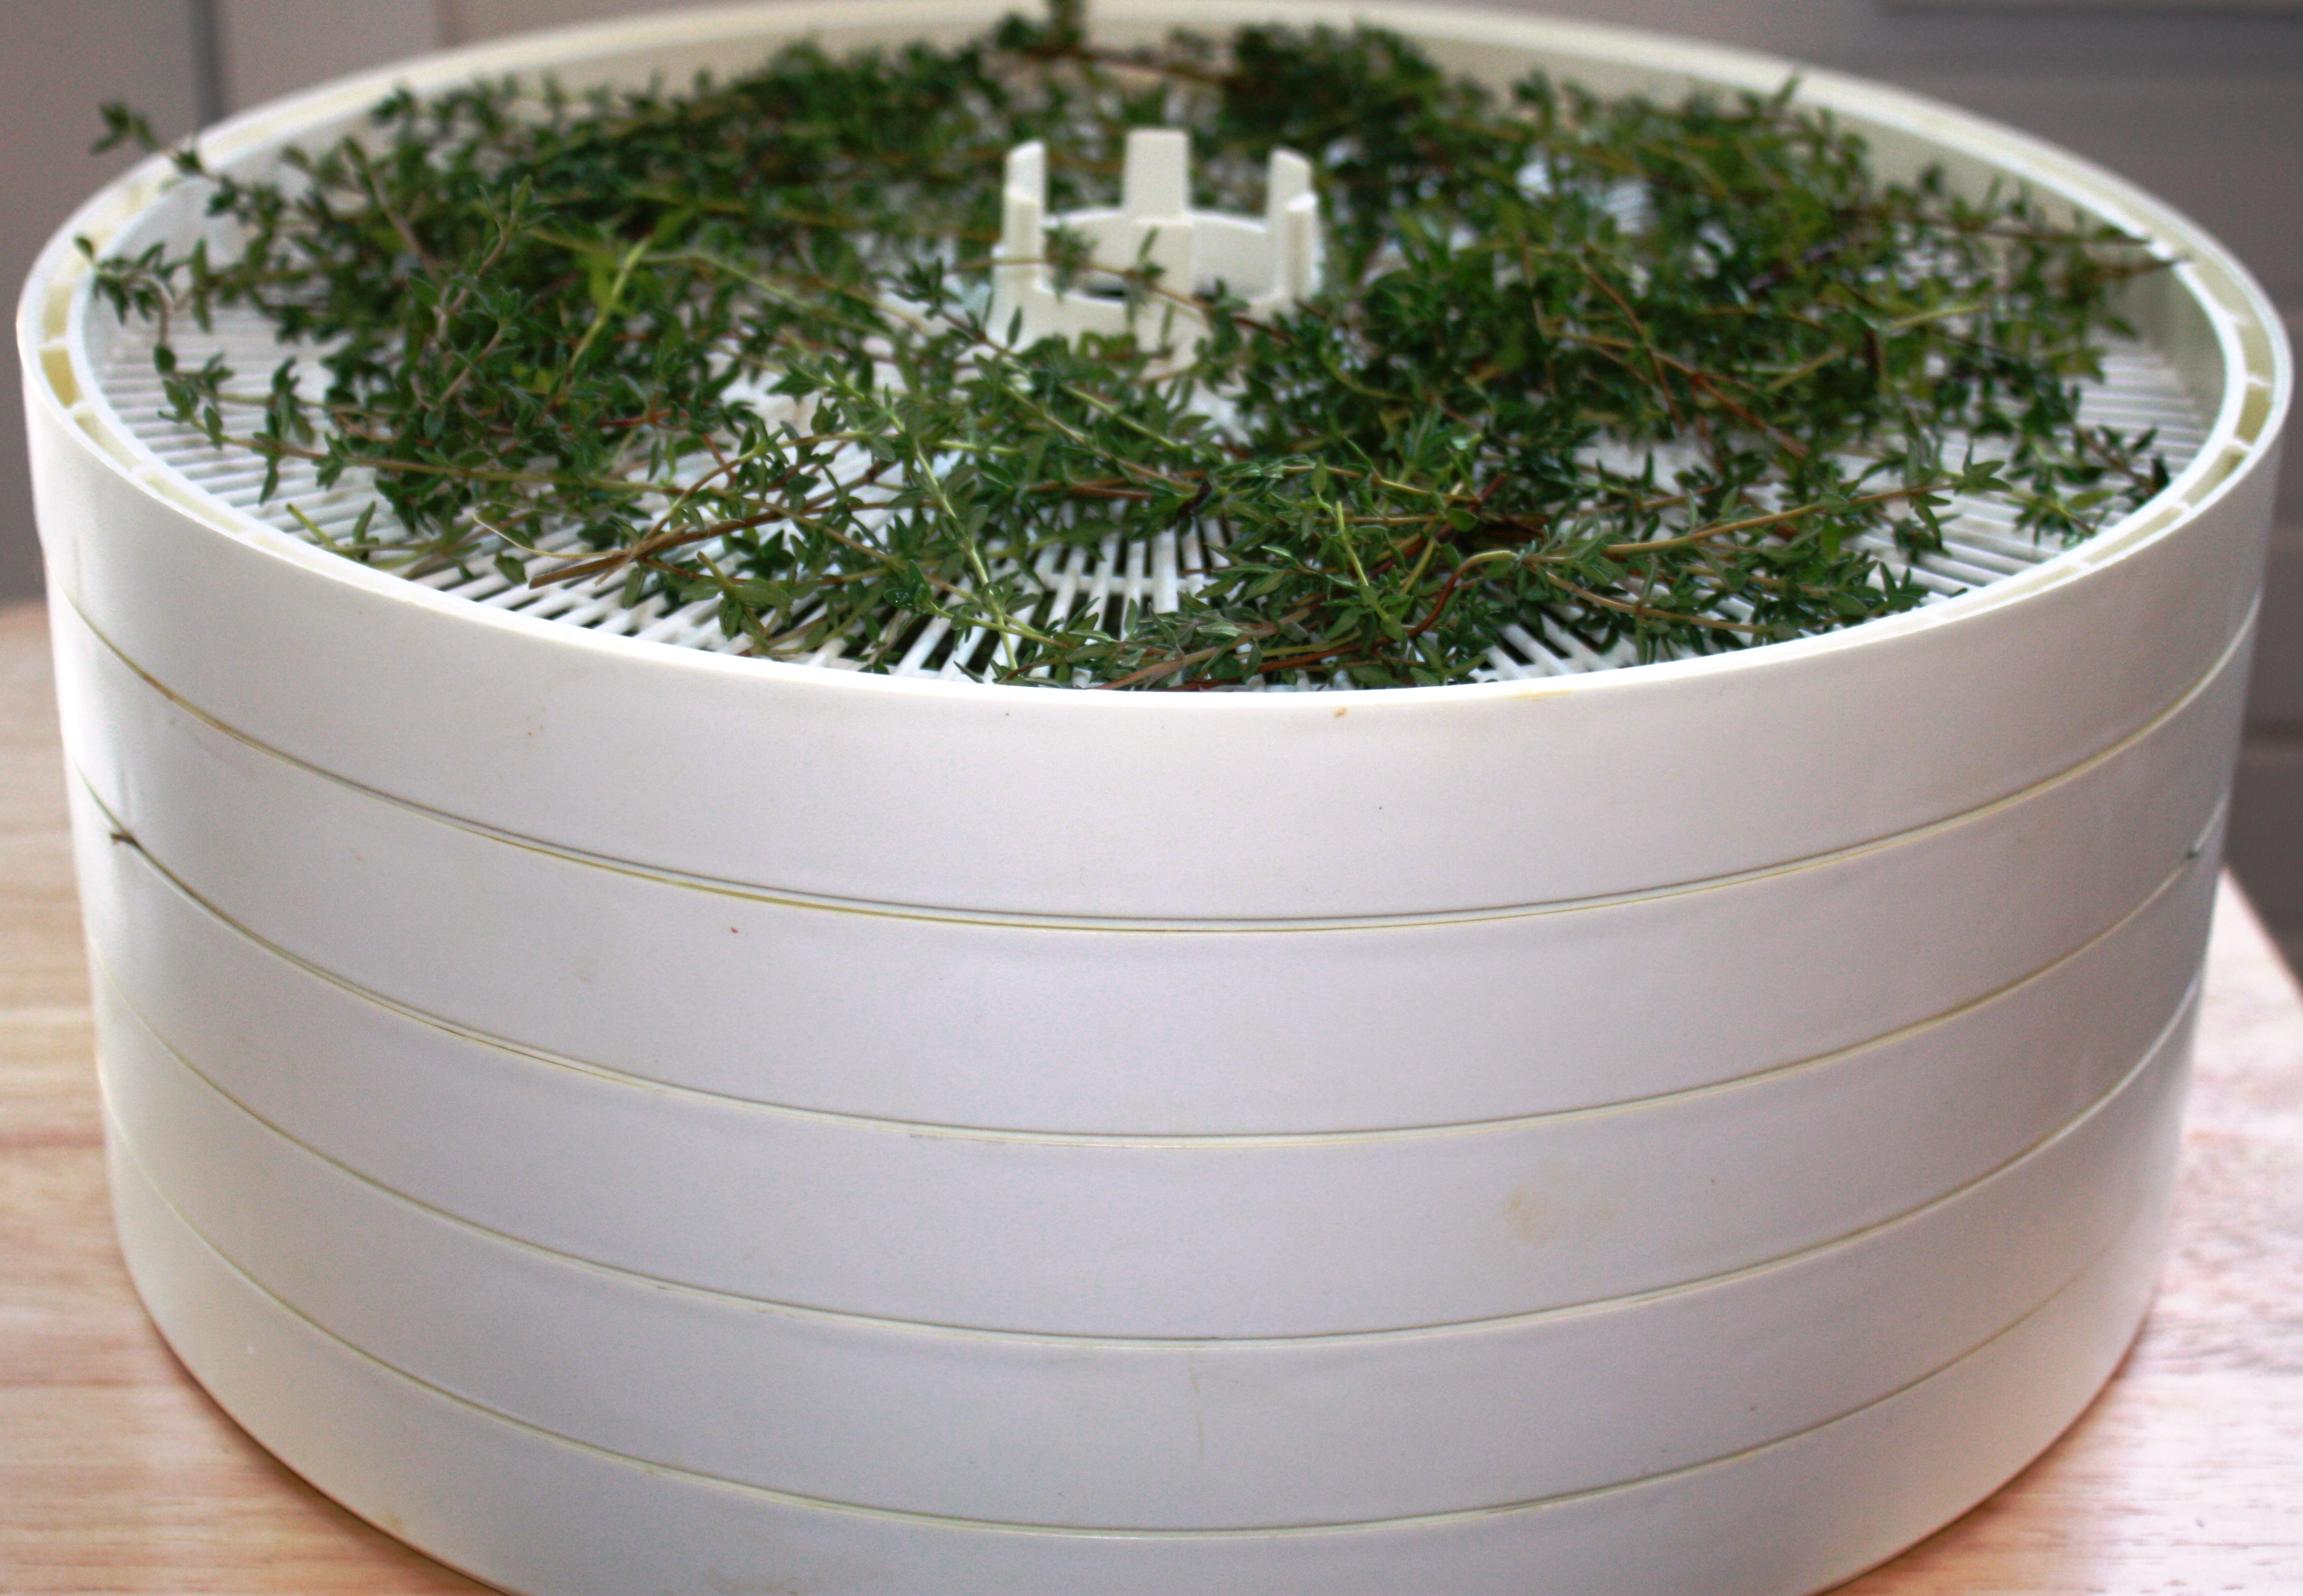
Screen Drying: Herbs with small leaves (leave on the stem) and short stems which do not hang well can be dried on screens.
For larger leaves snip off the stems and lay on screens in a single layer. During drying time, turn over the leaves at least a couple of times for even drying. Lay the screens in a well ventilated area. I like to use a wooden clothes rack and lay the screen on the rack.
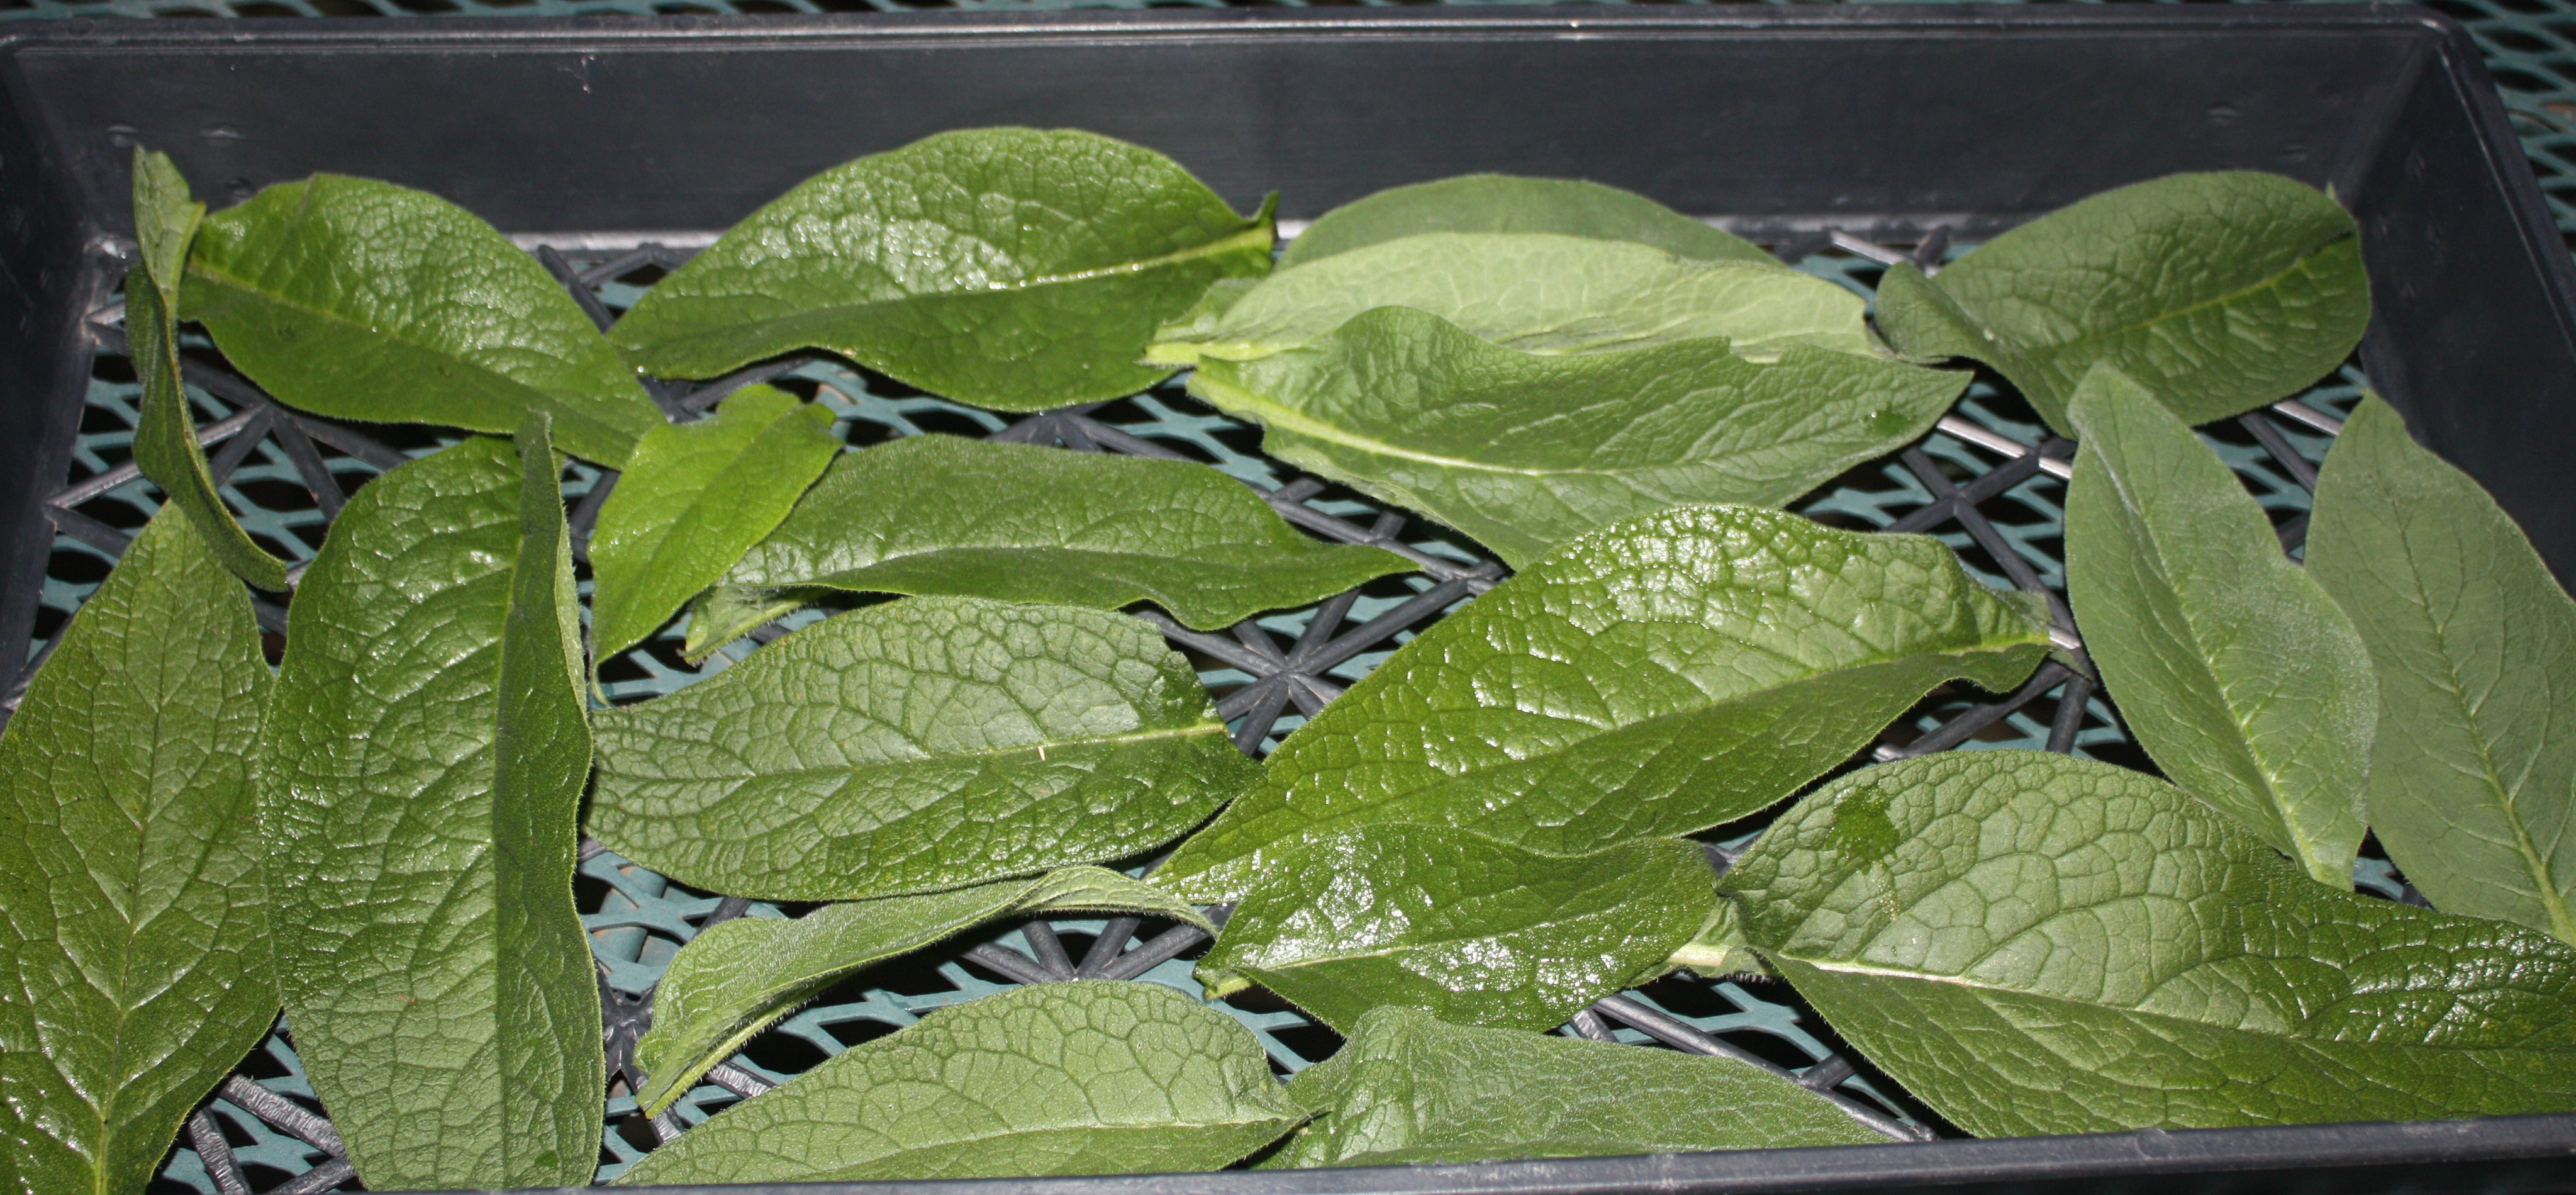
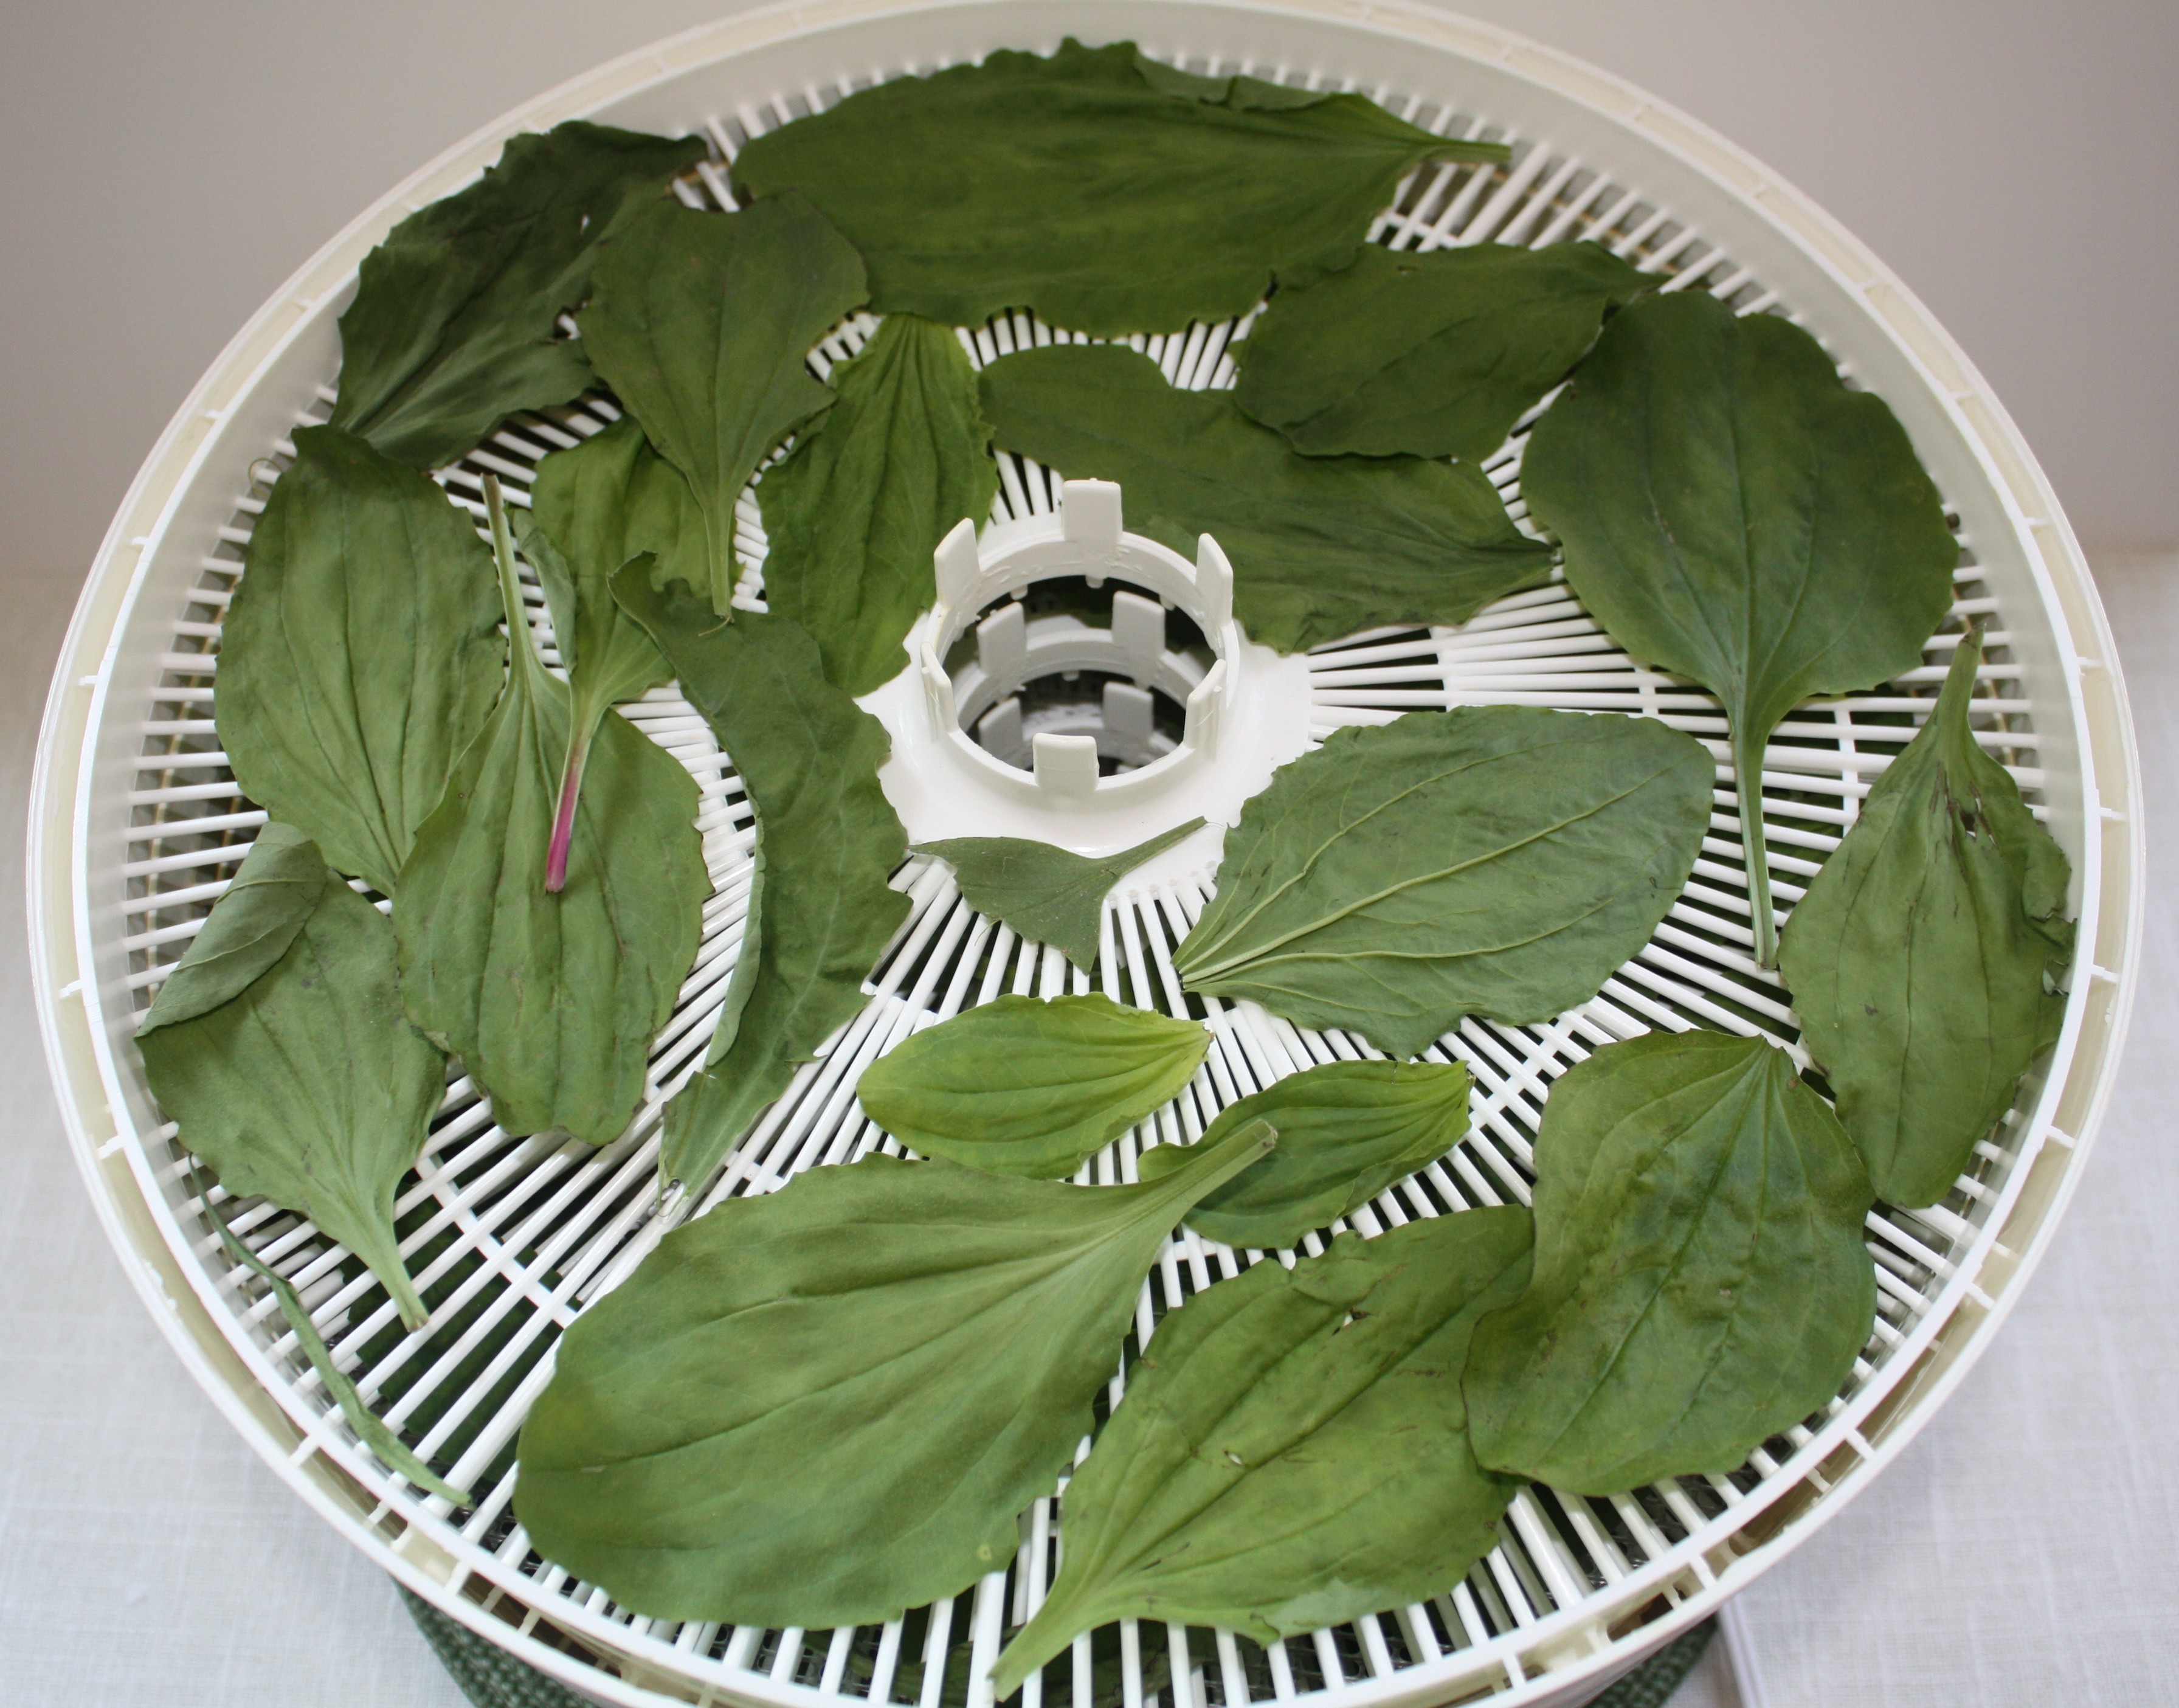
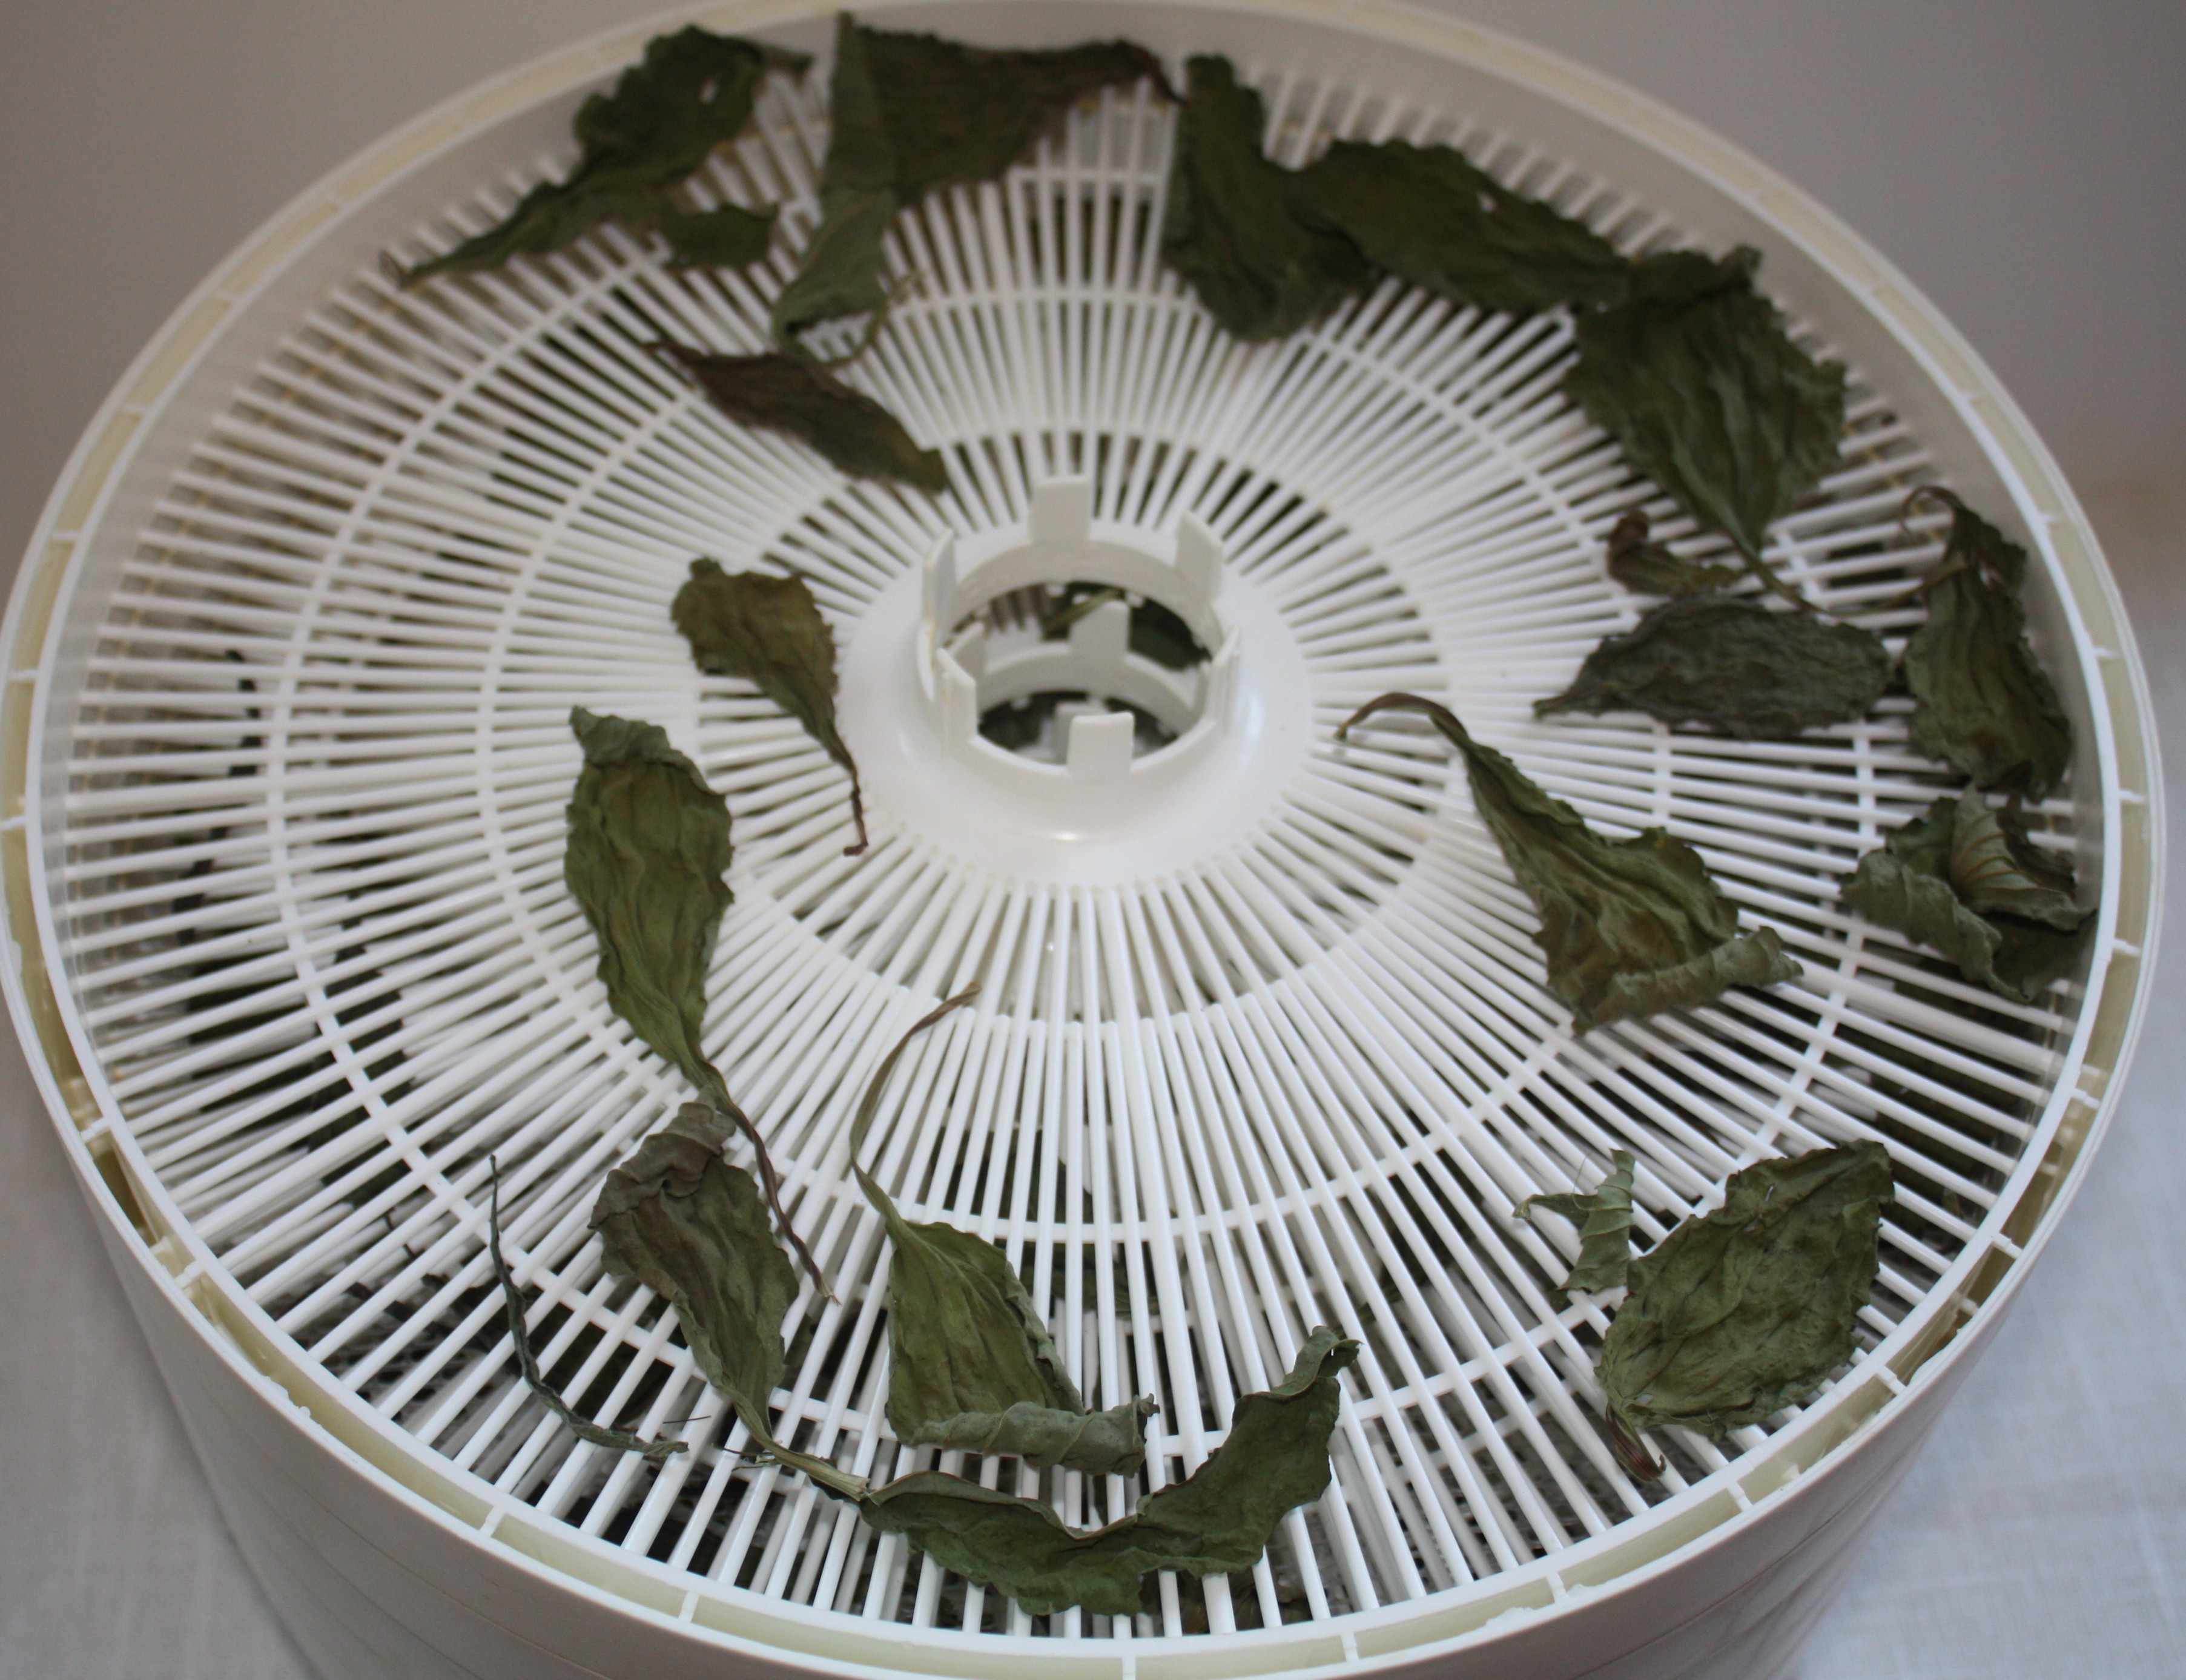
Screen drying comfrey on a nursery plastic tray.
Try using the plastic trays from the nursery that have openings in the tray. If the leaves are small, lay paper towels down first. They should be dry in a little over a week. Be sure and not leave them too long and they will collect dust.
Screens can be constructed with scrap lumber and window screening. Another way is to use canvas stretcher frames which are glued and cover tightly with screening. I use a staple gun to attach the screen.
Microwave drying seems to be latest way to dry herbs; I have not tried this method as I think the microwave would heat the herbs at too high a temperature. The information I found says watch the drying time, as they can start a fire.
Wash the herbs and lay on paper towels to air dry for about an hour. Place herbs on a paper towel in a single layer. Cover with another sheet of paper towel. Heat for one minute on high, turn over stack over and heat for another minute. Depending on your microwave it may take a more or less time. After the initial two minutes, microwave every 30 seconds, until herbs are dry and brittle. Store and label.
Oven drying: This one works pretty well, but again I would not use this method for medical herbs. Set your oven at its lowest setting about 180°F. Leave the door open to allow steam to escape. Wash and air dry herbs. Lay the leaves in a single layer on a cookie sheet. Stir every once in a while to ensure even drying. Dry for about 4 hours. Be sure and work with only one kind of herb. The flavors can actually mix.
Gas oven with constant pilot light drying: Follow the above directions in reference to the preparation of the herbs. Set the temperature at the lowest setting while keeping the door open, and will keep the flame burning. After a few minutes, turn off oven and place the cookies sheets in the oven. Close the door and leave it alone overnight. Check if the herbs are dry before removing.
Salt or sugar: Layer clean and air dry herbs such as mints, anise hyssop, lavender, rose, and scented germanium with sugar. Be sure all parts of the herb are covered. Leave them until they are thoroughly dry. Remove leaves, label and store.
Pick the herbs suited to either salt or sugar. Rosemary, oregano, marjoram, sage, savory, and lovage are best in salt prepared in the same manner as sugar.
Refrigerator drying: This is one of my favorite ways of drying especially if you don’t have a food dehydrator. Lay the clean and dry to the touch herbs on paper towels on a tray in the refrigerator and allow drying. Do not use the crisper bins. You can also place the herbs in a paper sack and leave in the refrigerator to dry.
Freezer Method: Some herbs loose there taste when dried, but lend themselves to freezing. Some herbs are delicate and freezing is as close to fresh as possible. Herbs better frozen include basil, chives, dill, fennel, and flat leaf parsley. Herbs should be dry to the touch and place in freezer bags and quickly frozen. Oncefrozen the herbs can easily be stripped from their stems.
Ice cube freezing: Chop the herbs and place in an ice cube tray. Measure a teaspoon or Tbsp. of the herbs for each hole and fill with water. Freeze.
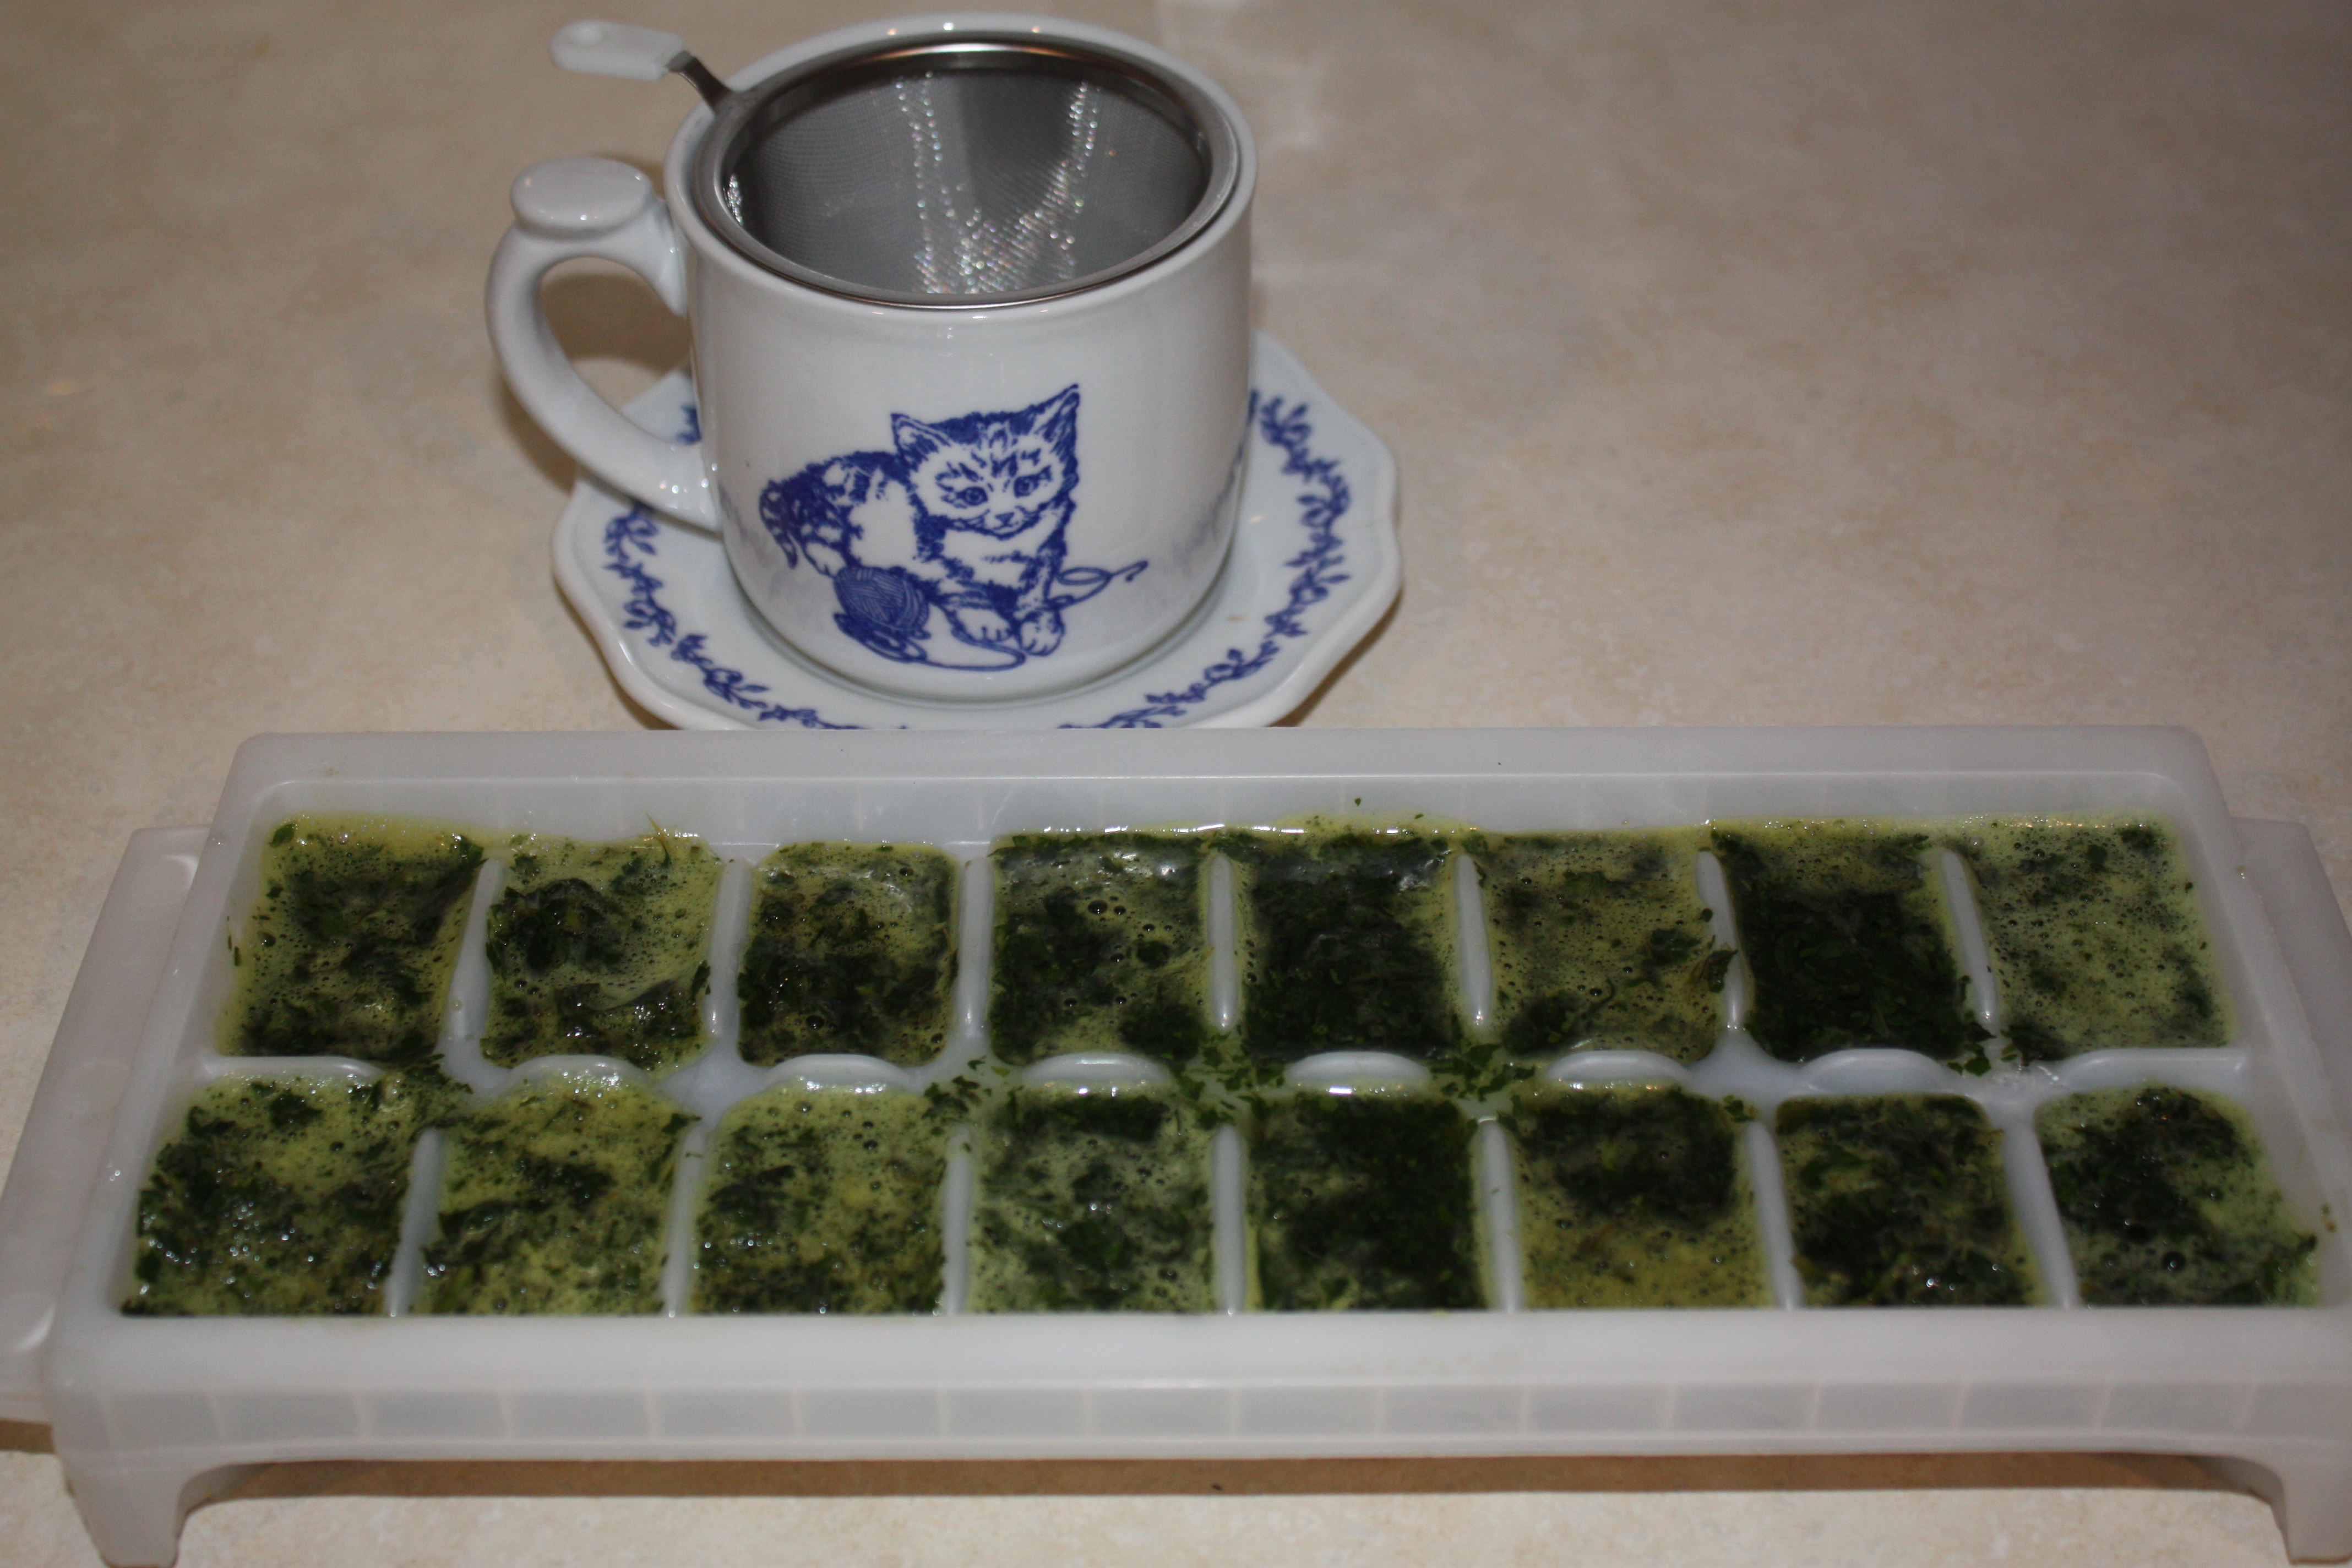
Freezing herbs in ice cube trays. Mint ready to make into tea.
Another method is to place herbs in a blender and add enough water to fill the trays. Blend and freeze. Once frozen the herbs can be pop out of trays and store in plastic bags. Be sure and label with the amount of the herb. These cubes can be added to soups, sauces, stews or your favorite recipe.
Tea herbs can be added to a pan and covered with water and bring to almost boil and serve as hot tea. Don’t place the frozen cube in a glass mug and hot water added. The mug might break.
Drying Roots and rhizomes: Roots should be dug in the fall and allow to air dry. Annuals can be dug the first year, but perennials should be allowed to mature for at least two or three years. Annuals roots should be dug up at the end of their growing cycle.
Ginseng is reported to need at least seven years before roots reach their peak. Echinacea needs about three years for their roots to reach any size.
Arrange the roots in front of a fan to speed up drying. Wash quickly and pat dry immediately. If the top of the plant will not be used, compost. You can replant some of the roots of most herbs and they will grow just fine.
The fall is when the greatest concentration of medicinal compounds is stored in the root. Some herbs such as comfrey or horseradish can have their roots cleaned and the hairs remove, but other such as valerian contains most of the compounds is on the surface or skin.
Some roots can be sliced and place on a baking sheet and dried in the oven.
Before digging any roots make sure you are on your own land or you have permission from the land owner. Along the side or the road is not the place to dig, not only is it illegal in most parts, the roots have absorbed car exhaust which we don’t want in our medicine.
Drying and storing Seeds: Harvest seeds on a nice warm day when they have ripen but have not begun to fall. This is usually when the seeds have lost their green and the pods are hard, crinkle dry, and brown or black. Cut the seed heads from the herbs such as dill, lovage, coriander, fennel, and chervil.
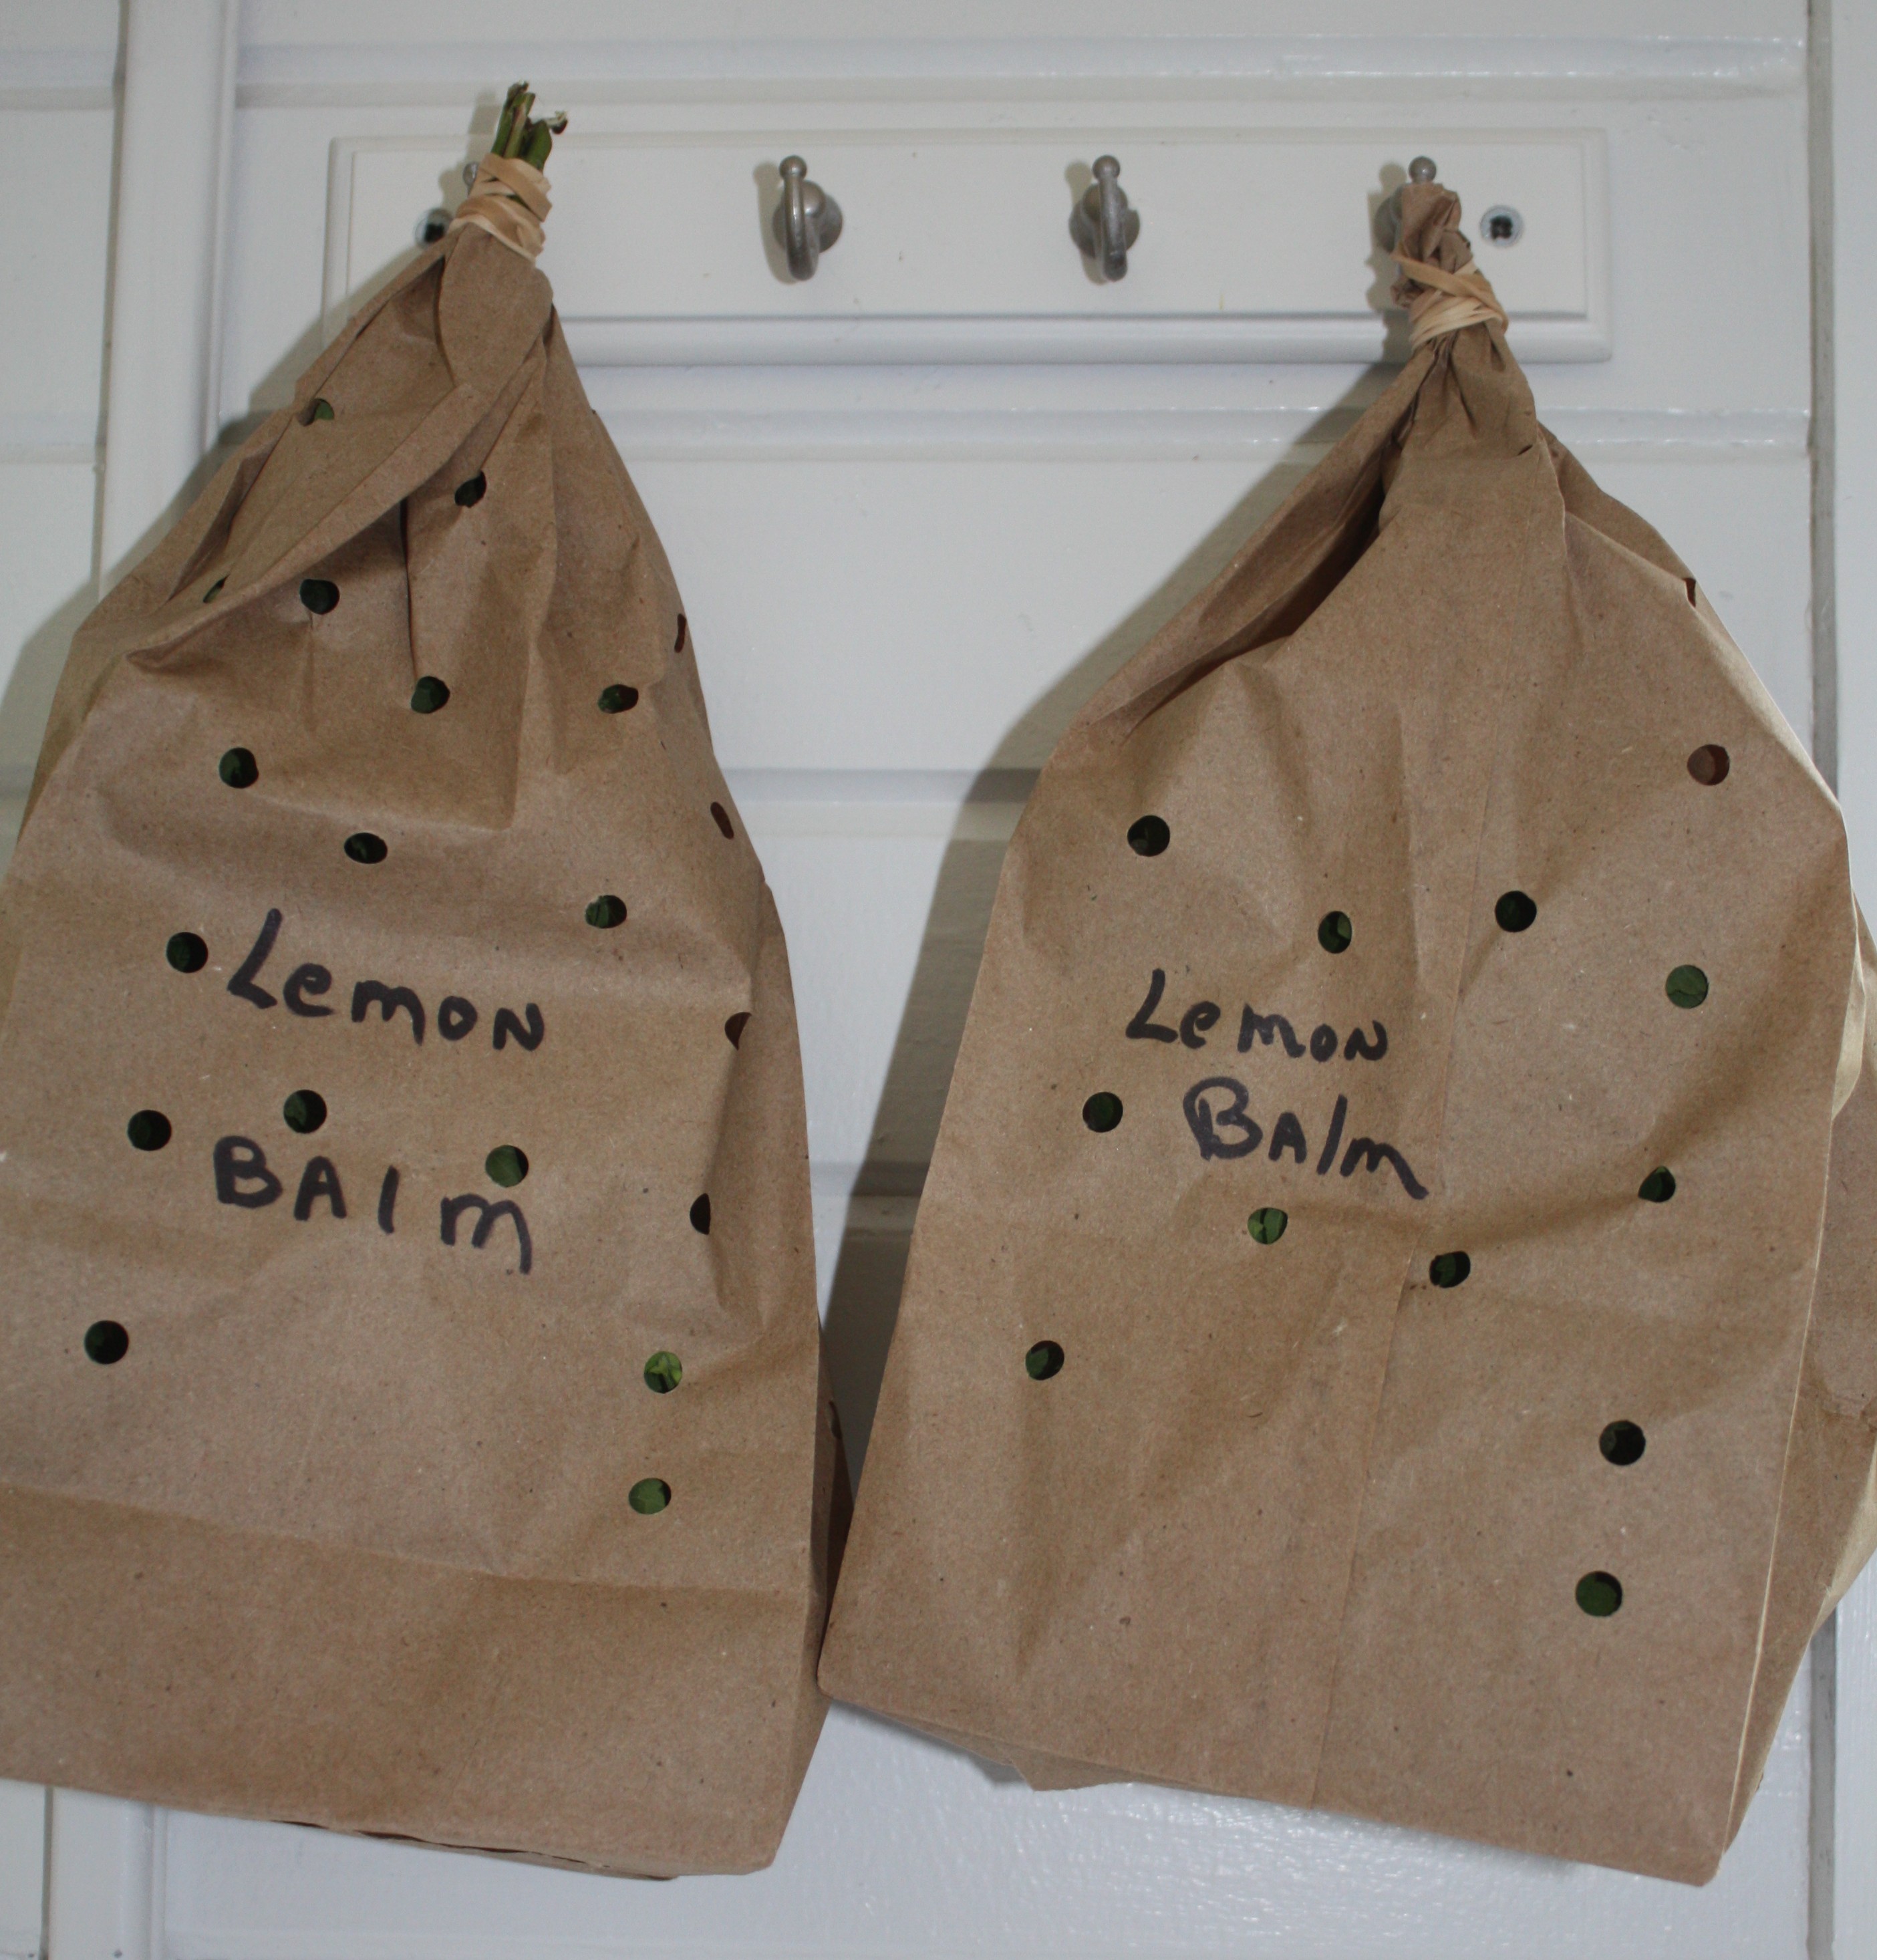
Tie the plant inside a paper bag and dry upside down. As they herb begin to dry the seeds will drop into the bags. Carry the bags to the garden, so you do not lose the seed as you walk back to the

Dry basil seeds ready to plant next year. Laid on paper towels to dry
house. If you carry them back without securing the seeds, you may have plants in places you do not want. Keep each variety in its own bag and be sure and label. Seeds should be dry within two weeks.
Store seeds in jars or I like to keep mine in paper envelopes in a cool, dark place such as the refrigerator. Some seeds need the cold to stratify, but others may not like to be kept in the cold. This may take some experimentation and research on your part.
Just a few final notes: Harvesting and drying fresh herbs will be appreciated this winter when you have herbs ready to use. Lay a white towel on the table before drying your herbs. This allows you to find any insects and to inspect your herbs before drying.
Humidity will affect your drying time and the quality of the herbs. The dryer the better, avoid drying on rainy days.
Herbs while drying should be protected from direct sunlight, and good circulation. Once dry the herbs should be used in about a year, just in time to dry a new batch the following year. It is important to keep moisture out of the jars used for storing. Who wants to open their cupboard and find a moldy mess?
When drying seeds, be sure they are ripe and ready. Once dry, remove any excess material by blowing across the seeds. Some who save in bulk use a box fan place in front of the seeds to blow away the excess material. Do this outside.
Gather only as much as you can handle at one time. Gather only one variety at a time, and keep in your gathering basket. After you have place one variety in your tub, now go back and gather another and place in another tub. Herbs should be gathered in the morning before it turns hot. If you don’t gather the entire herb you want, and it is not close to frost date, there will be another day.
Try one of these methods and you will be glad this winter when you want to use your dried herbs. Don’t forget to label with date, variety and drying method.
Happy Gardening!