Category Archives: Craft Herbs

Orange zest, Thyme and Rose Body Scrub

This wonderful combination of orange zest, thyme and rose along with almond meal and oatmeal is a great exfoliating body scrub that can be used instead of a loofah on the skin. It is wonderfully aromatic, mild and satisfying to the skin.

To use: Just before showering, rub the scrub gently onto damp skin, avoiding any tender areas such as the face, then shower off or rinse with cool water.

Ingredients:

  • Peel or zest of two oranges
  • Old fashioned oats
  • Dry thyme
  • Dry rose petals
  • Almond meal
  • Measuring cup
  • Measuring table spoon
  • Coffee grinder or spice grinder
  • Storage jar with tight fitting lid
  • Labels

Directions: Using a vegetable peeler, remove the skin of two oranges. Cut into thin strips.

Place the orange peels on a paper towel and place on a microwave safe plate and at half power microwave for one or two minutes adding 30 seconds until the orange peels are crisp and brittle.

Hint: Stir after each microwave time to stop burning of orange peels in the middle.

Grind the orange peels in a spice grinder until fine.  Grind rest of ingredients, using the coffee grinder, until each achieved a flour like consistency.

Grinding orange peel

Grind orange peel to a fine powder

Measure out 1 cup oat flour, 3 Tbsp. rose petals, 3 Tbsp. almond meal, 1 Tbsp. thyme and 1 Tbsp.  orange peel.  Thoroughly mix and add to an airtight jar and label.

Grind rose buds

Rose petals and rose buds in grinder

Note: Almond meal can be purchased or grind chopped or slivered almonds.

almond  meal

almond meal

Orange zest and Oatmeal will soften, cleanse and heal the skin, leaving a wonderful feeling after each use of the orange zest, thyme, and rose body scrub.

Almond is good for dry skin and those rough patches we get in the winter.

Thyme will stimulate circulation, and is an astringent. Rose petals will soothe and perfume the skin, and is especially good for mature and sensitive skins.

body scrub ingredients

Mixture of ingredients for body scrub

Be sure and check for allergic reactions before using any body product. Just add a small amount to the underside of the arm and leave on for several hours. If no redness occurs you properly will not have any allergic reactions.

Finished body scrub

Finished body scrub

Optional: Add essential oils of your choice, some options might include lavender for a cooling, relaxing scent, lemon for a fresh citrus scent, or patchouli for a stimulating, musky scent and is considered rejuvenating to the skin. Add just a few drops of essential oil to the scrub and mix thoroughly. This scrub can also be mixed with almond oil and used within two days. Add about a Tbsp of sweet almond oil to each 2 Tbsp. of scrub.

If giving as a gift, add a label with the directions for use, and decorate as desired.


Make Dream and Sleep Pillows

Make dream and sleep pillows from dried herbs.

General instructions:

Simple Dream and Sleep pillows can be made with soft fabric with fairly tight weave. Wash the fabric using natural soap such as borax and do not add any fabric softener or dryer sheets. Washing will wash the sizing and smell out of the fabric.  Some bags may be filled with batting along with the herbs. Use 100% natural fabric.

Dream and Sleep Pillows

Herbal Dream and Sleep Pillows

Cut two pieces of 5” x 8” rectangles or any size you like to use. This is a great project to use up leftover fabric. What’s important is what inside not the shape. Lay wrong size together and sew one long side seam using about ¼” seam allowance. Hem the top of the bag. Sew the other sides of the bag leaving the hem size open. I use a piece of ribbon to tie around the bag to close.

Casing bag: The top of the bag can fold over top for a casing with the seam open just enough to pull a draw sting through.

Fabrics might include: lining fabric, broadcloth, flannel, soft decorative fabric, and cotton.

Place a small amount of fiber fill inside the bag. Add about ½ to ¾ cup of the herbs.

Closed Bag: You can also make a bag with no opening. Just stitch around the four corners of the bag and leave an opening for filling and turning. It is best to use an inner lining of washed muslin for pillows. Just cut two pieces of muslin slightly smaller than the outside fabric.

Be sure you can get you material inside so the opening should be about 4 inches. Turn the bag inside out, iron and fill with herbs. Stitch the opening close. Place the inner bag inside the outer fabric and stitch close. I like to top stitch all around to catch the inner to the outer so the inner pillow does not shift around.

Place either of the bags inside your sleeping pillow or lay beside you head.

A variety of combinations can be used for these little bags. Some are used to help you sleep, or to dream, or help with headaches, or help you recover from an illness.

Dream Pillow may work because the fragrance activities the memory of the brain.

When making these mixtures, use two or three of herbs mentioned.

For example a classic mixture for Nightmare be-gone is equal parts of rose petals, rosemary, lavender, and hops. Sleep mixture is equal parts of lavender, mugwort and hops, or equal parts of lavender, chamomile, hops, mugwort and rose.  Amounts for pillow are about ½ c. herb in each pillow.

Making sleep pillow

Herbs used in sleep pillow

  • Stress Mixture: Hops, mugwort, sweet marjoram, and lavender
  • Get Well mixture: lavender, catnip,
  • Dream lover pillow: yarrow flowers, dill leaves, basil, and roses
  • Remember dreams: lavender, rosemary, mugwort, catnip, and bay
  • Nightmare be-gone: Rosemary, valerian, lemon balm, rose petals, hops, mullein, or lavender.
  • Headache be-gone: rosemary, mint, betony, or bay, bee balm flower, roses, lavender, nutmeg or cloves, and a small amount of marjoram.

To retain scent, can add some cellulose chips or vetiver root, a little essential oil may be added as well. Orris root which is used in potpourris is usually considered too sensitive for close breathing. Many are allergic to orris root. Also store bag when not in use in a plastic zipper bag.

Herbs used in making dream and sleep pillows:

  • Chamomile: rest, sweet dreams
  • Cloves: repel bad dreams
  • Dill is known to help with cranky babies
  • Hops: restful sleep and healing, sweet dreams
  • Lilac (old fashioned garden variety) good for dreams
  • Lavender: headaches easing, purification, calming
  • Marjoram: relieves depression
  • Mugwort: visions and predictive dreams, aids in remembering dreams
  • Mullein: repel bad dreams
  • Rosemary: avoid nightmares and headaches, folk lore says it retains memory, use sparingly
  • St. Johns Wort: banishes spirits
  • Lemon Grass: predictive dreams
  • Marjoram: relieves depression
  • Mint: vivid dreams, alertness
  • Rose: Clairvoyance, love
  • Thyme: peaceful sleep
  • Valerian: deep rest

Word of warning: If you allergic to ragweed you may have reactions to chamomile. Common sage and clary have been used in pillows but other sages should be avoided. Avoid tansy and Artemisia such as wormwood.  We do not claim these pillows actually help you sleep or will induce sleep. They are just fun.

Lavender has a strong scent and if strong may not induced sleep, but is used for headaches. Strong herbs such as rosemary and mugwort should be avoided in children pillows. Many pillows are made from hops alone, but hops have an unpleasant smell by itself and smell better with other herbs flowers mixed in equal parts.

These little pillows make great gifts and is a fun way to use many of your dried herbs. If you do not grow all the herbs you can usually purchase them form a good herb store. Just be sure herbs are organic. Always label the pillow with all ingredients. They are not intended as a primary sleeping pillow, but an addition.


Making Herbal Jelly

Making Herbal Jelly is fun and extends the harvest for all those herbs you planted this spring. It also makes a wonderful gifts for teachers, co-workers, and gift exchanges. Herbal jelly are unusual. It great to have these gifts ready when you need them.

Using juice instead of water, the number of flavor combinations is quite numerous.

Gather your basic supplies for jelly making.

  • ½ pint Jars, washed in dishwasher or hand washed
  • New lids
  •  Rings
  • Pectin (dry or liquid)
  • Pots: water bath caner, stock pots, small saucepan
  • Jar lifter
  • Tongs
  • Ladle
  • Juice
  • Herb
  • Sugar
  • Butter

Pick your herbs and thoroughly wash, check out part one of harvesting herbs for washing instructions. Try and pick them around mid morning after the dew has dried but before the sun is too hot. Pat the herbs dry.

To make infusion: Measure out the juice with a little extra and place in stock pot and add the herbs. Cover and heat the juice and herbs to almost boiling, turn off heat and allow the herbs to steep for about 20 minutes. Strain out the herbs and carefully measure out the amount needed for the recipe. Compost the herbs. When straining herbs, they do take up some of the liquid; this is the reason for a little extra.

Making an herb infusion

Herb infusion with apple juice

To Sterilized the jars:  Place the washed jars in a stockpot with a cloth lining the bottom of the pan and bring to a boil and boil for 10 minutes to sterilize the jars. I like to use a clean new dishcloth in the bottom of the pan when sterilizing jars so they don’t rattle around.

Place the lids in a small saucepan and cover with water and heat. Both the jars and the lids should be hot when pouring in the jelly and sealing. Start heating the water in the caner.

Making jelly

Sterilizing jars

Making the jelly: Measure out the sugar and set aside.

Chocolate Mint jelly recipe:  Follow directions for making powdered pectin recipes

Apple mint jelly

Apple mint jelly on toast

  • 4 c. apple juice
  • 4 c. sugar
  • 1 box of powdered pectin
  • 1 c. mint leaves for infusion, follow directions for making infusion
  • 1 Tbsp. lemon juice
  • ½ tsp. butter
  • Food coloring if desired, I do not use

Basic recipe for making jelly using powdered pectin: (Sugar is added last)

  • 3 c. fruit juice or water
  • 1 c. fresh herb
  • 2 Tbsp. fresh lemon juice, can used bottled, or some recipes use vinegar
  • 1 pkg. powdered pectin
  • 4 c. sugar
  • ½ tsp. butter
  • Food coloring if desired

In a large stock pot with about 8 to 10 quarts capacity with a wide flat bottom is great for most jelly recipe, add the infusion, lemon juice or vinegar, butter and dry pectin.  Bring to a rolling boil, stirring constantly. Once the boil cannot be stirred down, add the sugar and bring back to a rolling boil. Once the boil cannot be stirred down, boil for exactly one minute. Use a clock with a minute hand. Remove from heat. Skim off foam using a metal spoon.

Boillng jelly

Bring jelly to rolling boil that cannot be stirred down

Ladle the hot mixture into the hot jars, Wipe off the rim of the jar with a wet cloth, and place lid and ring and tighten. Turn over jar with jelly to coat the lid. Place the sealed jars in the hot water canner and bring to a boil and boil for 5 minutes. Take out of the caner and place on protected surface to allow cooling. The seals should pop as they cool down, if for some reason they do not, plan on using the jelly and storing it in the refrigerator.

Basic recipe for making jelly using liquid pectin, (Pectin is added last)

  • 2 c. fruit juice
  • 3-1/2 c. sugar
  • 2 Tbsp. lemon juice
  • 1 pouch liquid pectin (3 oz)
  • ¼ tsp. butter
  • 1 c. fresh herbs
  • Food coloring if desired

For the liquid recipe mix everything except the liquid pectin. Stirring all the time, bring to a full rolling boil that cannot be stirred down. Add the pectin all at once and return to rolling boil. Stir constantly and boil for exactly one minute. Remove from heat and skim off any foam with metal spoon and pour into jars and seal. Water bath according to directions, most are 5 to 10 minutes.

Note: I have not had good luck using liquid pectin when making my apple mint jelly. I have made it twice with liquid pectin and ended up with apple mint syrup. Not what I originally intended.

Herb jelly recipes:

  • Basil, either purple or sweet with water                with powdered pectin
    • 4 cups water
    • 2 c. packed fresh basil leaves, finely chopped
    • 1 pkg. powdered fruit pectin
    • 5 c. sugar
    • Make according to powdered pectin recipe and water bath for 15 min. (no vinegar)
    • Lemon Verbena with liquid pectin
      • 2 c. torn lemon verbena leaves
      • 2-1/2 c. water
      • ¼ c. cider vinegar
      • 4-1/2 c. sugar
      • 1 liquid pectin (3 oz.)
      • Make according to powdered pectin recipe and water bath for 5 minutes (has vinegar)
      • Thyme jelly
      • Rose Geranium jelly
      • Orange mint jelly
      • Lemon balm jelly
      • Sage jelly
      • Rosemary jelly
      • Chamomile jelly
      • Lavender jelly
      • Parsley  jelly
      • Lime Geranium jelly
      • Fennel

      Jelly recipes contain acid such as vinegar or lemon juice usually require less time in the water bath.

Herb and Fruit Juice Combination’s jelly:

  • Basil with orange juice
  • Lemon balm with red grape juice
  • Lemon thyme with white grape juice or lemonade
  • Lemon Verbena with  lemonade
  • Marjoram with grapefruit juice
  • Rosemary with orange juice
  • Savory with cranberry juice
  • Sage with apple juice or cranberry juice or pineapple juice
  • Scented Geranium with apple juice
  • Sweet woodruff with white wine
  • Thyme with purple grape juice or apple juice or orange juice
  • Rose petals with apple juice
  • Lavender with apple juice or orange juice or strawberries
  • Mint with apple juice
  • Tarragon with grapefruit juice
  • Calendula with grapefruit juice
  • Mint with grapefruit juice
  • Anise hyssop with grapefruit juice
  • Parsley with grapefruit juice or pineapple juice

It is fun to think of all the different combination of juice with herbs. Try one or two and you might find a favorite. These make great and unusual gifts.

Summertime is the best time to make herbal jellies, but I have used frozen mint when I needed to make jelly with good results.

Have fun!


Harvesting and Drying Fresh Herbs and Flowers part one

Harvesting and Drying Fresh Herbs and Flowers is an easy way to extend the harvest of your herbs and flowers. Basically it is providing an environment for your herbs to remove the excess water and easy to store for future use. The herbs should be dried in a way that allows the herb to retains its flavor, fragrances, and shapes as much as possible.

Several methods can be used to preserve the herbs which include:

  • Drying using a food dehydrator
  • Drying in the refrigerator
  • Air drying
  • Hanging to dry
  • Drying using the microwave
  • Drying use the oven
  • Freezing the herbs
  • Making herbal vinegars
  • Freezing in oil

When to Cut: Cut the herbs just before flowering on warm, dry morning after the dew has dried and the sun has warmed the herbs which help to bring the essential oils to the top but before they began to evaporate.

It is best to stick to one variety at a time to keep the flavors from mixing and well– keep it organized. Almost every herb can be dried but some herbs have better flavor if frozen. This blog will give you lots of advice on which herbs to dry and which to freeze, but sometimes it takes experimentation. Drying herbs will react in different ways in different parts of the country. In humid areas it takes longer for the herbs to dry and in dry areas the drying time will be shorter but may result in unattractive herbs.

Some herbs will change their color dramatically, or their shape while others will retain their original color and/or shape. Keeping an accurate notebook will help the harvest in the following seasons. Notes should include the date, weather conditions, the harvest methods and the results.

Start with harvesting the herbs. If the herb has a small leaves such as thyme or marjoram, the stems and leaves should be left intact. With medium to large leaves, I cut the stems and place gently in a gathering basket or tub and as I pick over the leaves, I cut them away from any thick stems, depending on your drying method.

The herbs can be cut back about once a month. Perennials should only be cut back about a third, and annuals can be cut back about half and cut back completely at the end of the season. The last cutting should allow the perennials to recover before the winter.

Avoid picking damage leaves or leaves chew up by insects, avoid leaves with powdery mildew or mold. Be sure and pick more than you expect using, the herb will shrink.

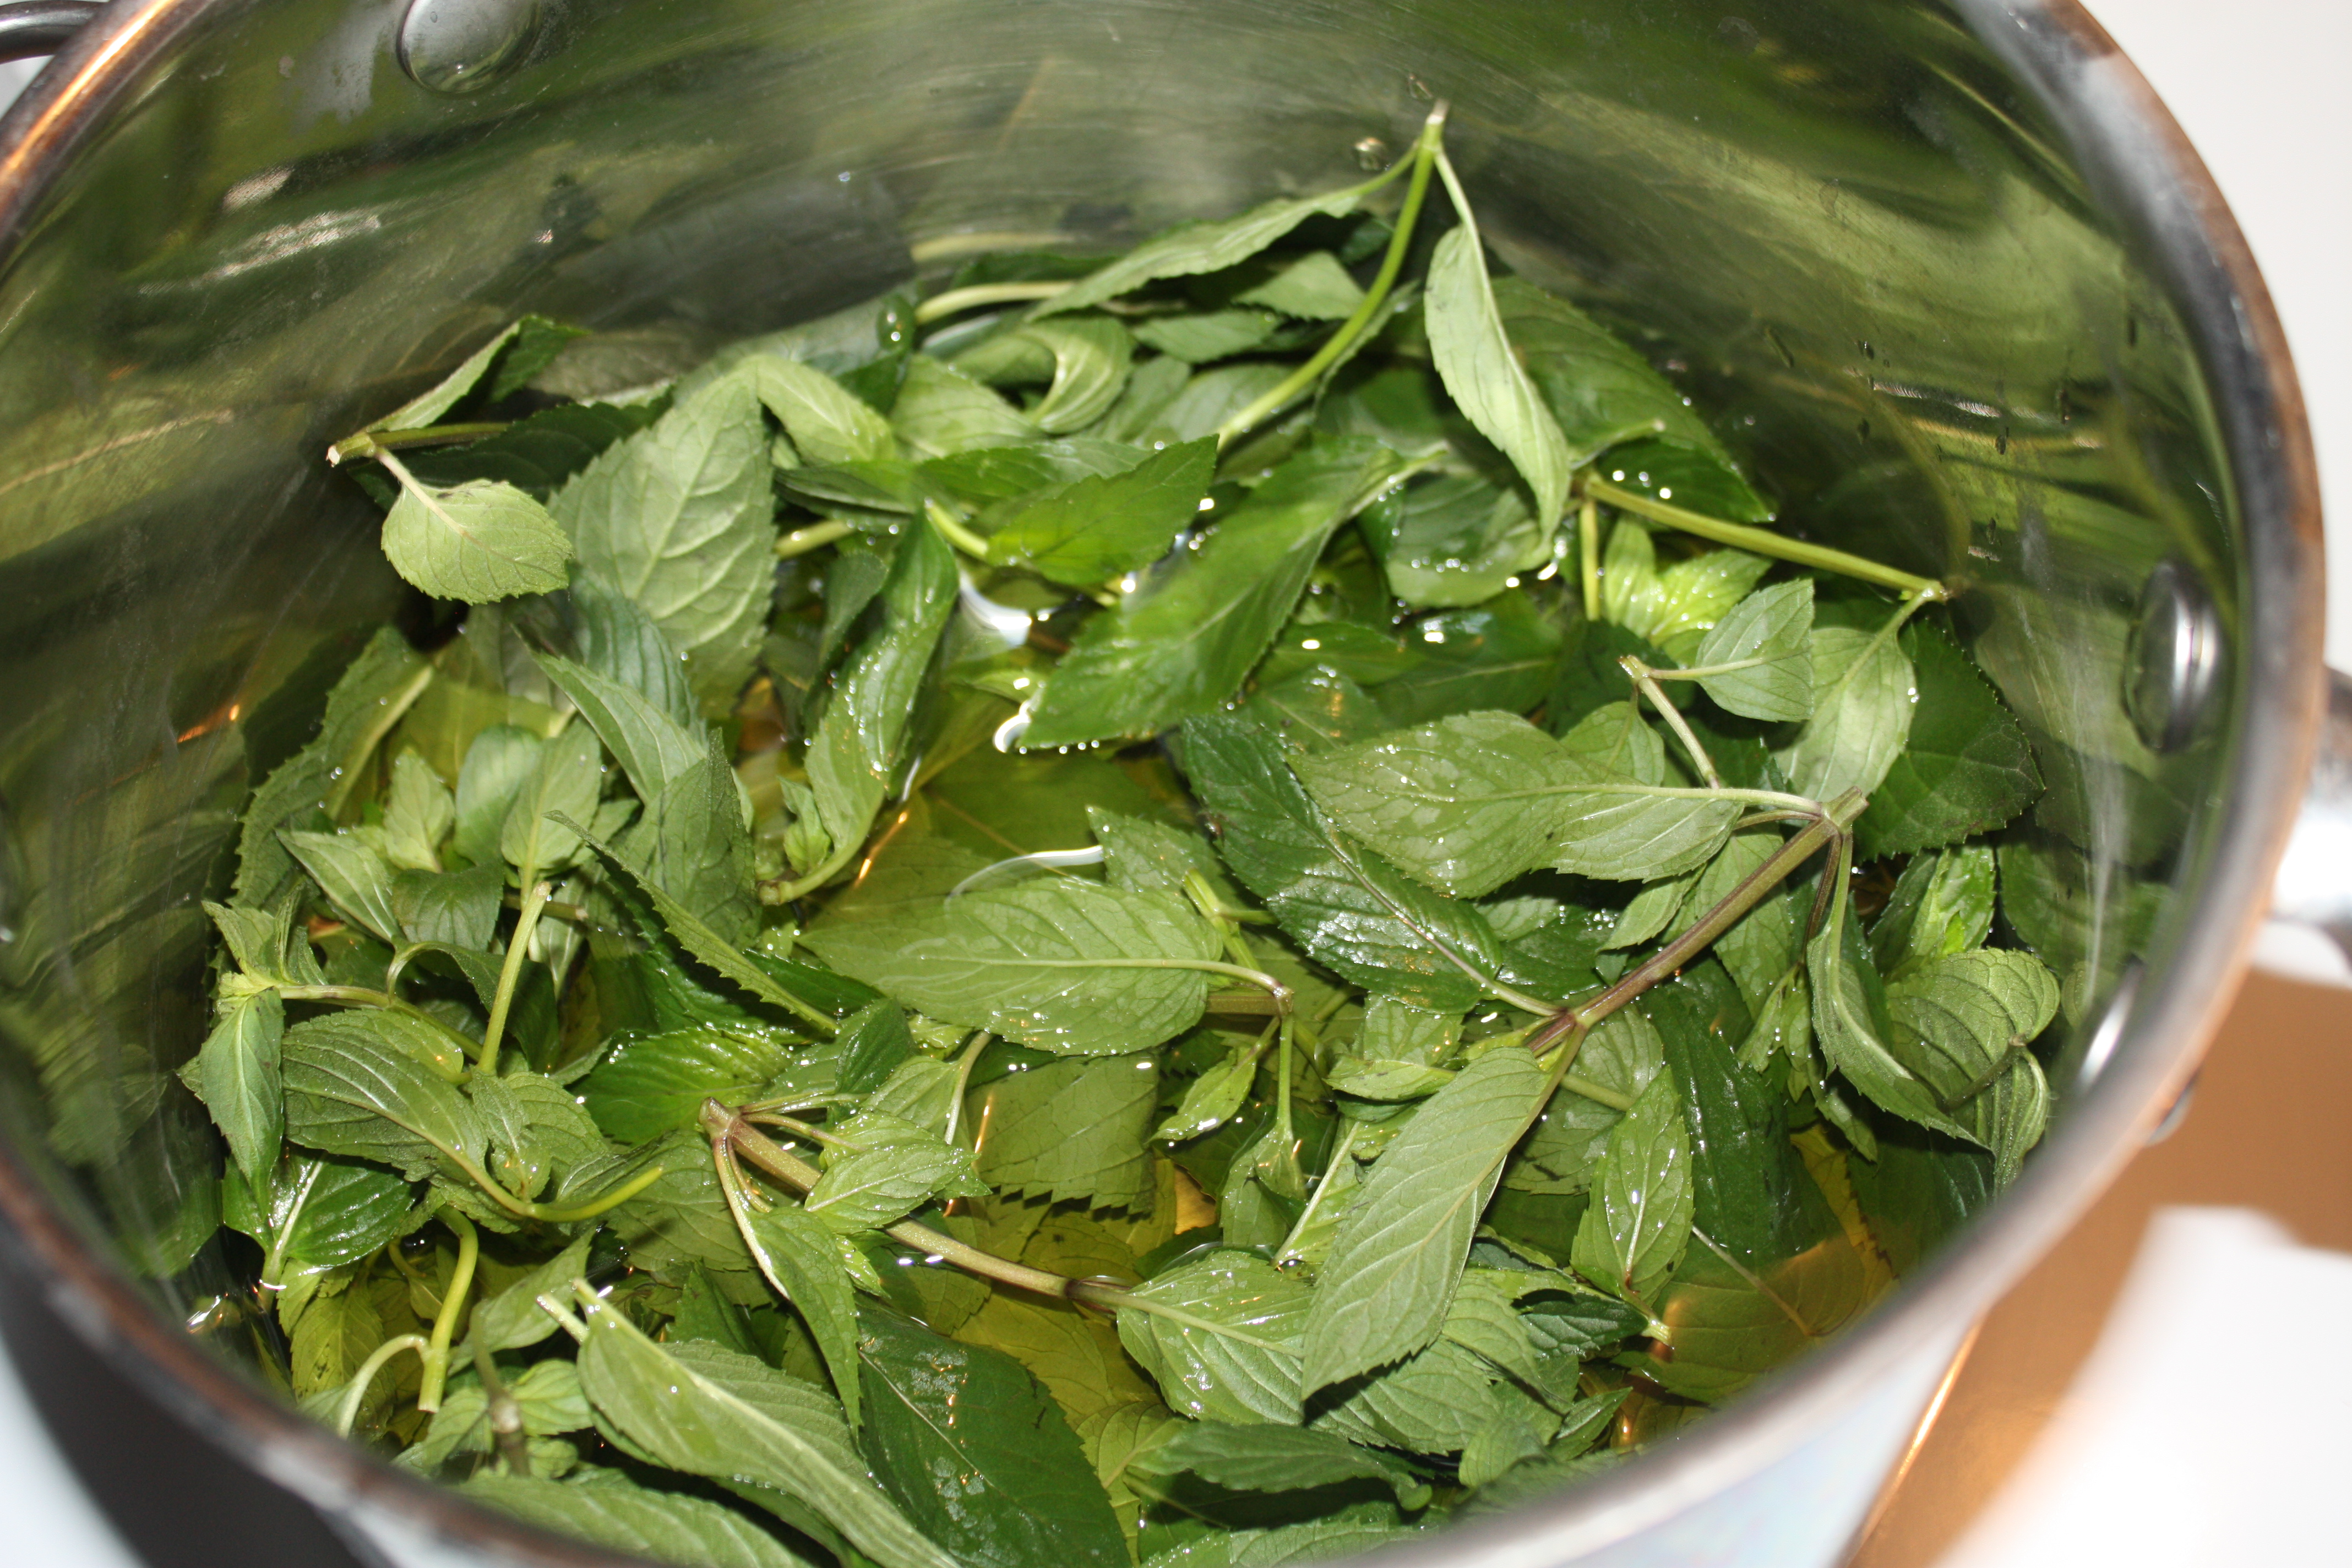
Washing: There are two schools of thought when it comes to washing your herbs before drying. Some books say don’t wash, other say do wash. I always wash, because I see what is left in my tub when I am through washing.  Herbs with small leaves leave on the stem for drying.

I use two clear tubs and wash from one tub to the other until the water runs clean. As I wash I pick over the leaves, cut off large leaves from the stems and check for any foreign objects.

I always wash the herbs the same whether I am using them as culinary, medical or crafts. I like to know I can use them however I want without worrying about how they were cleaned.

Drying herbs

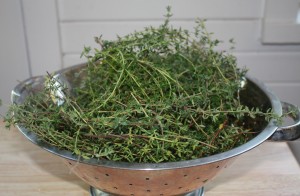
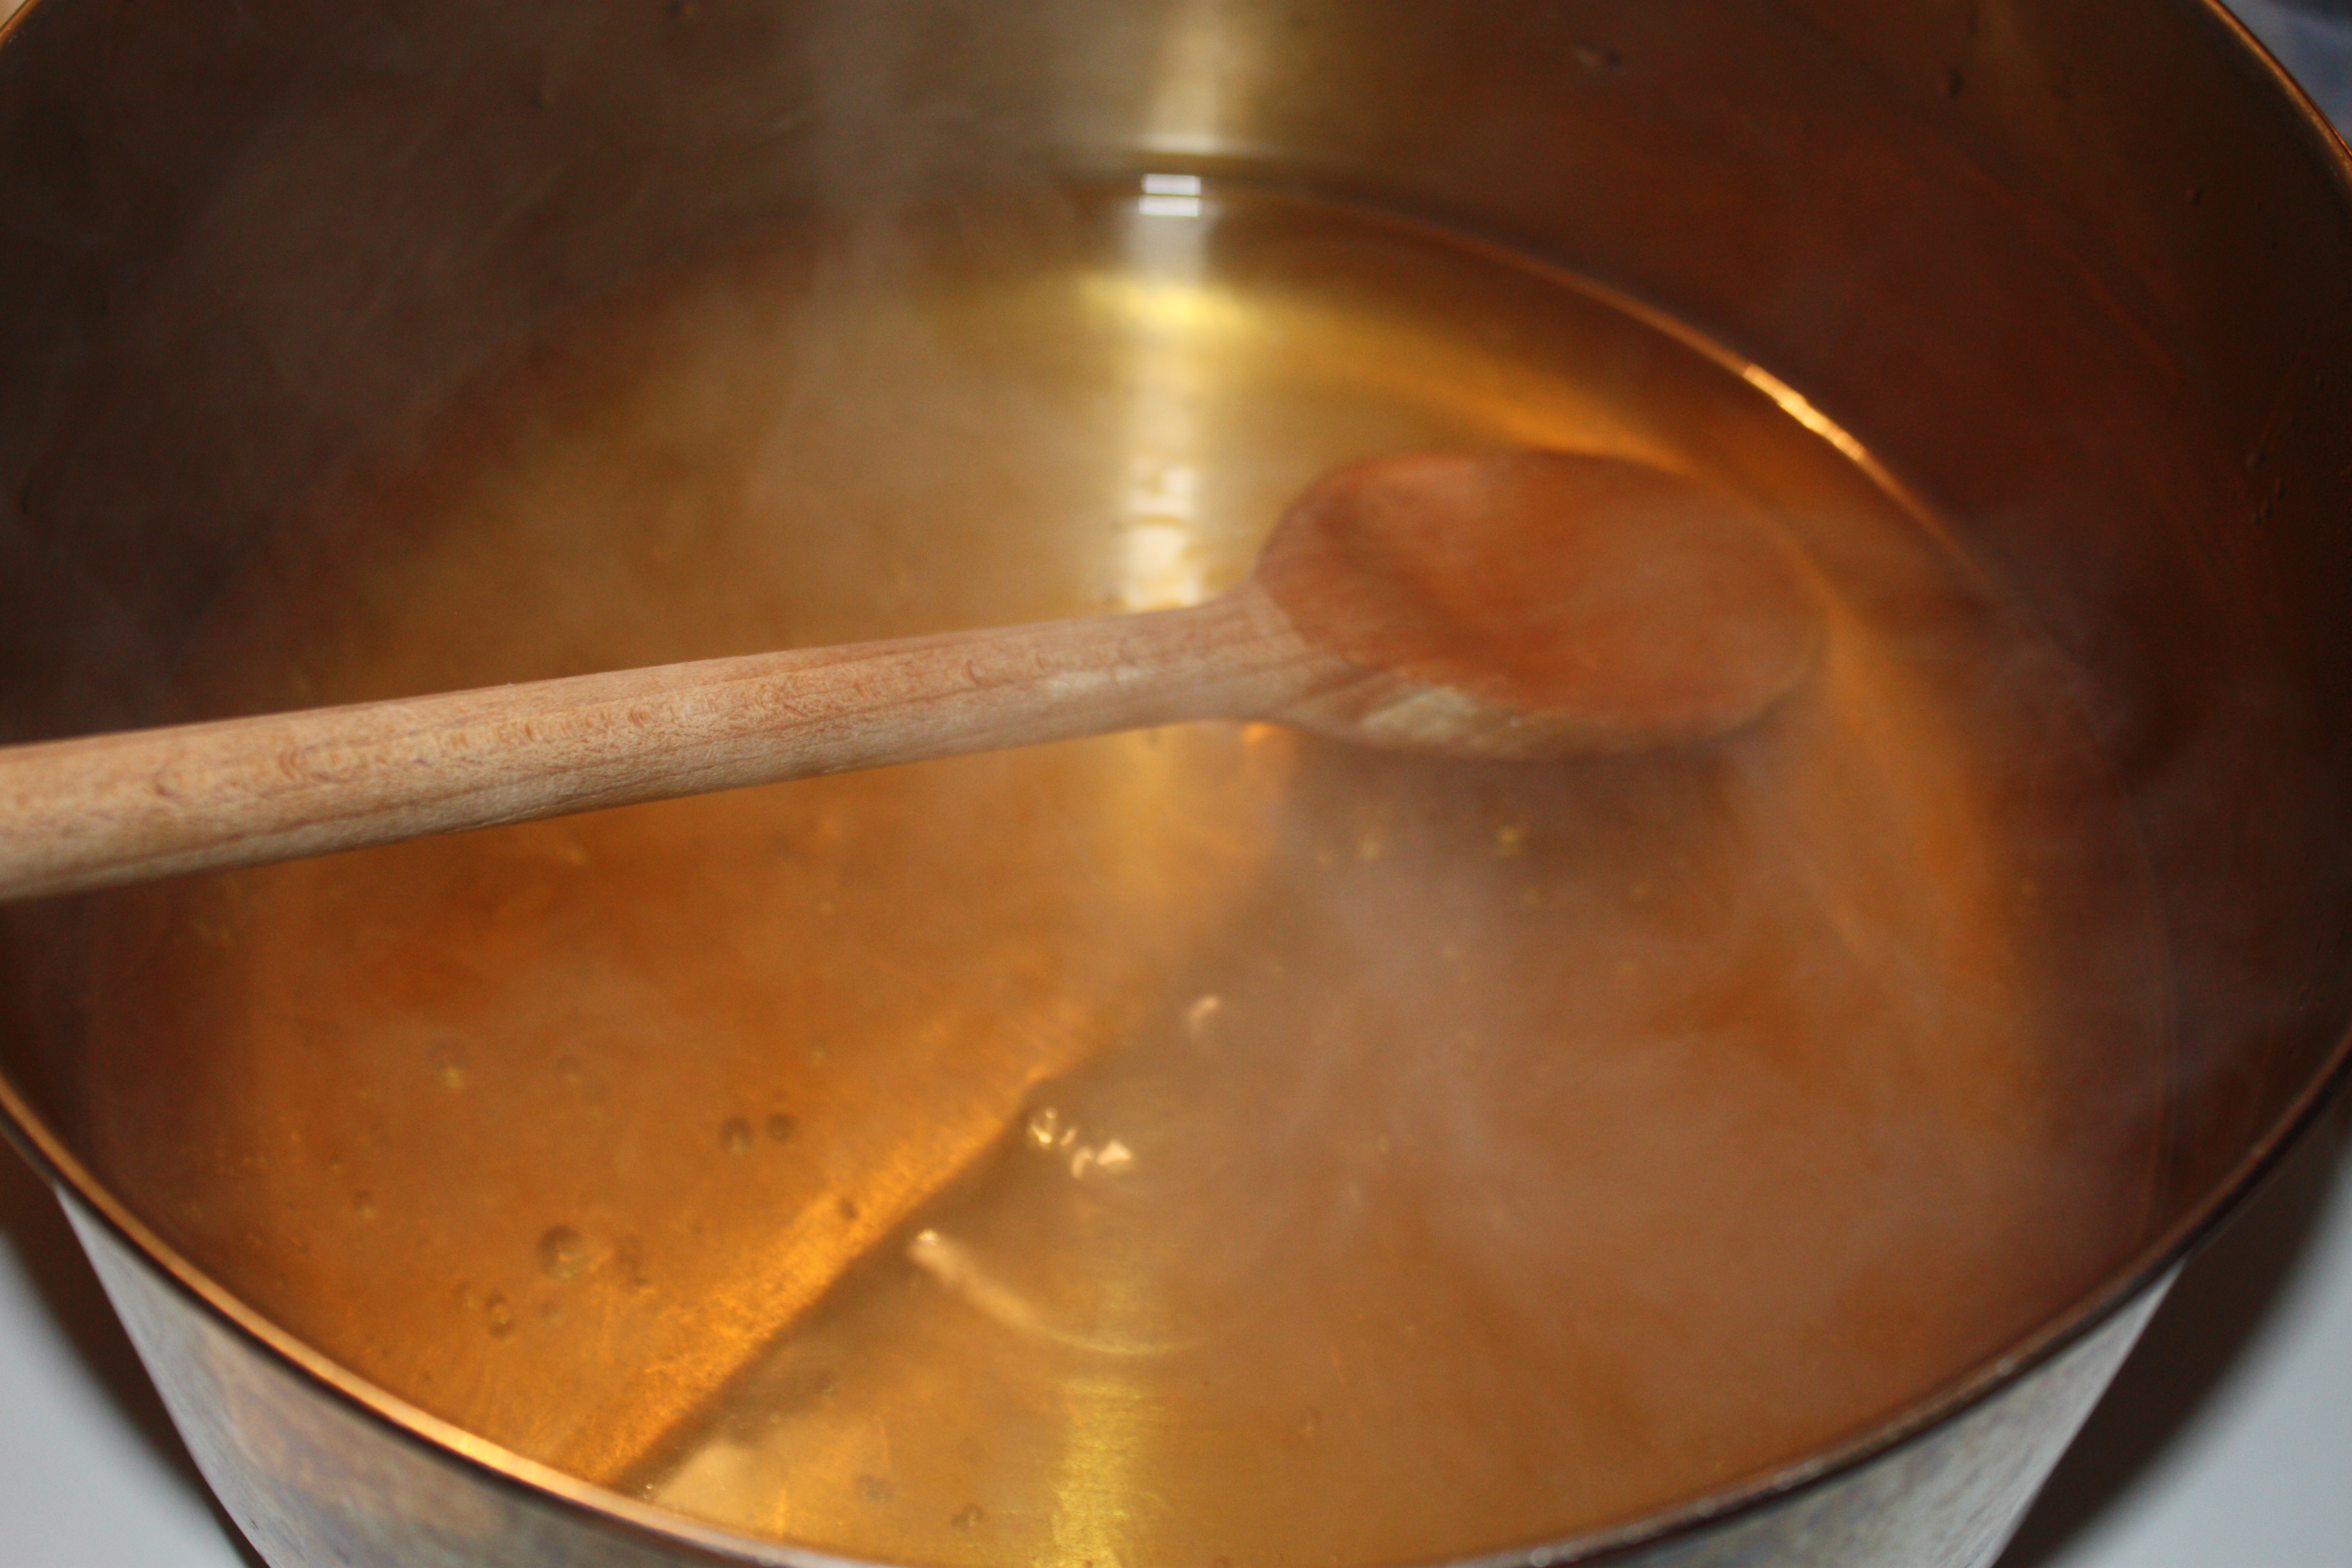
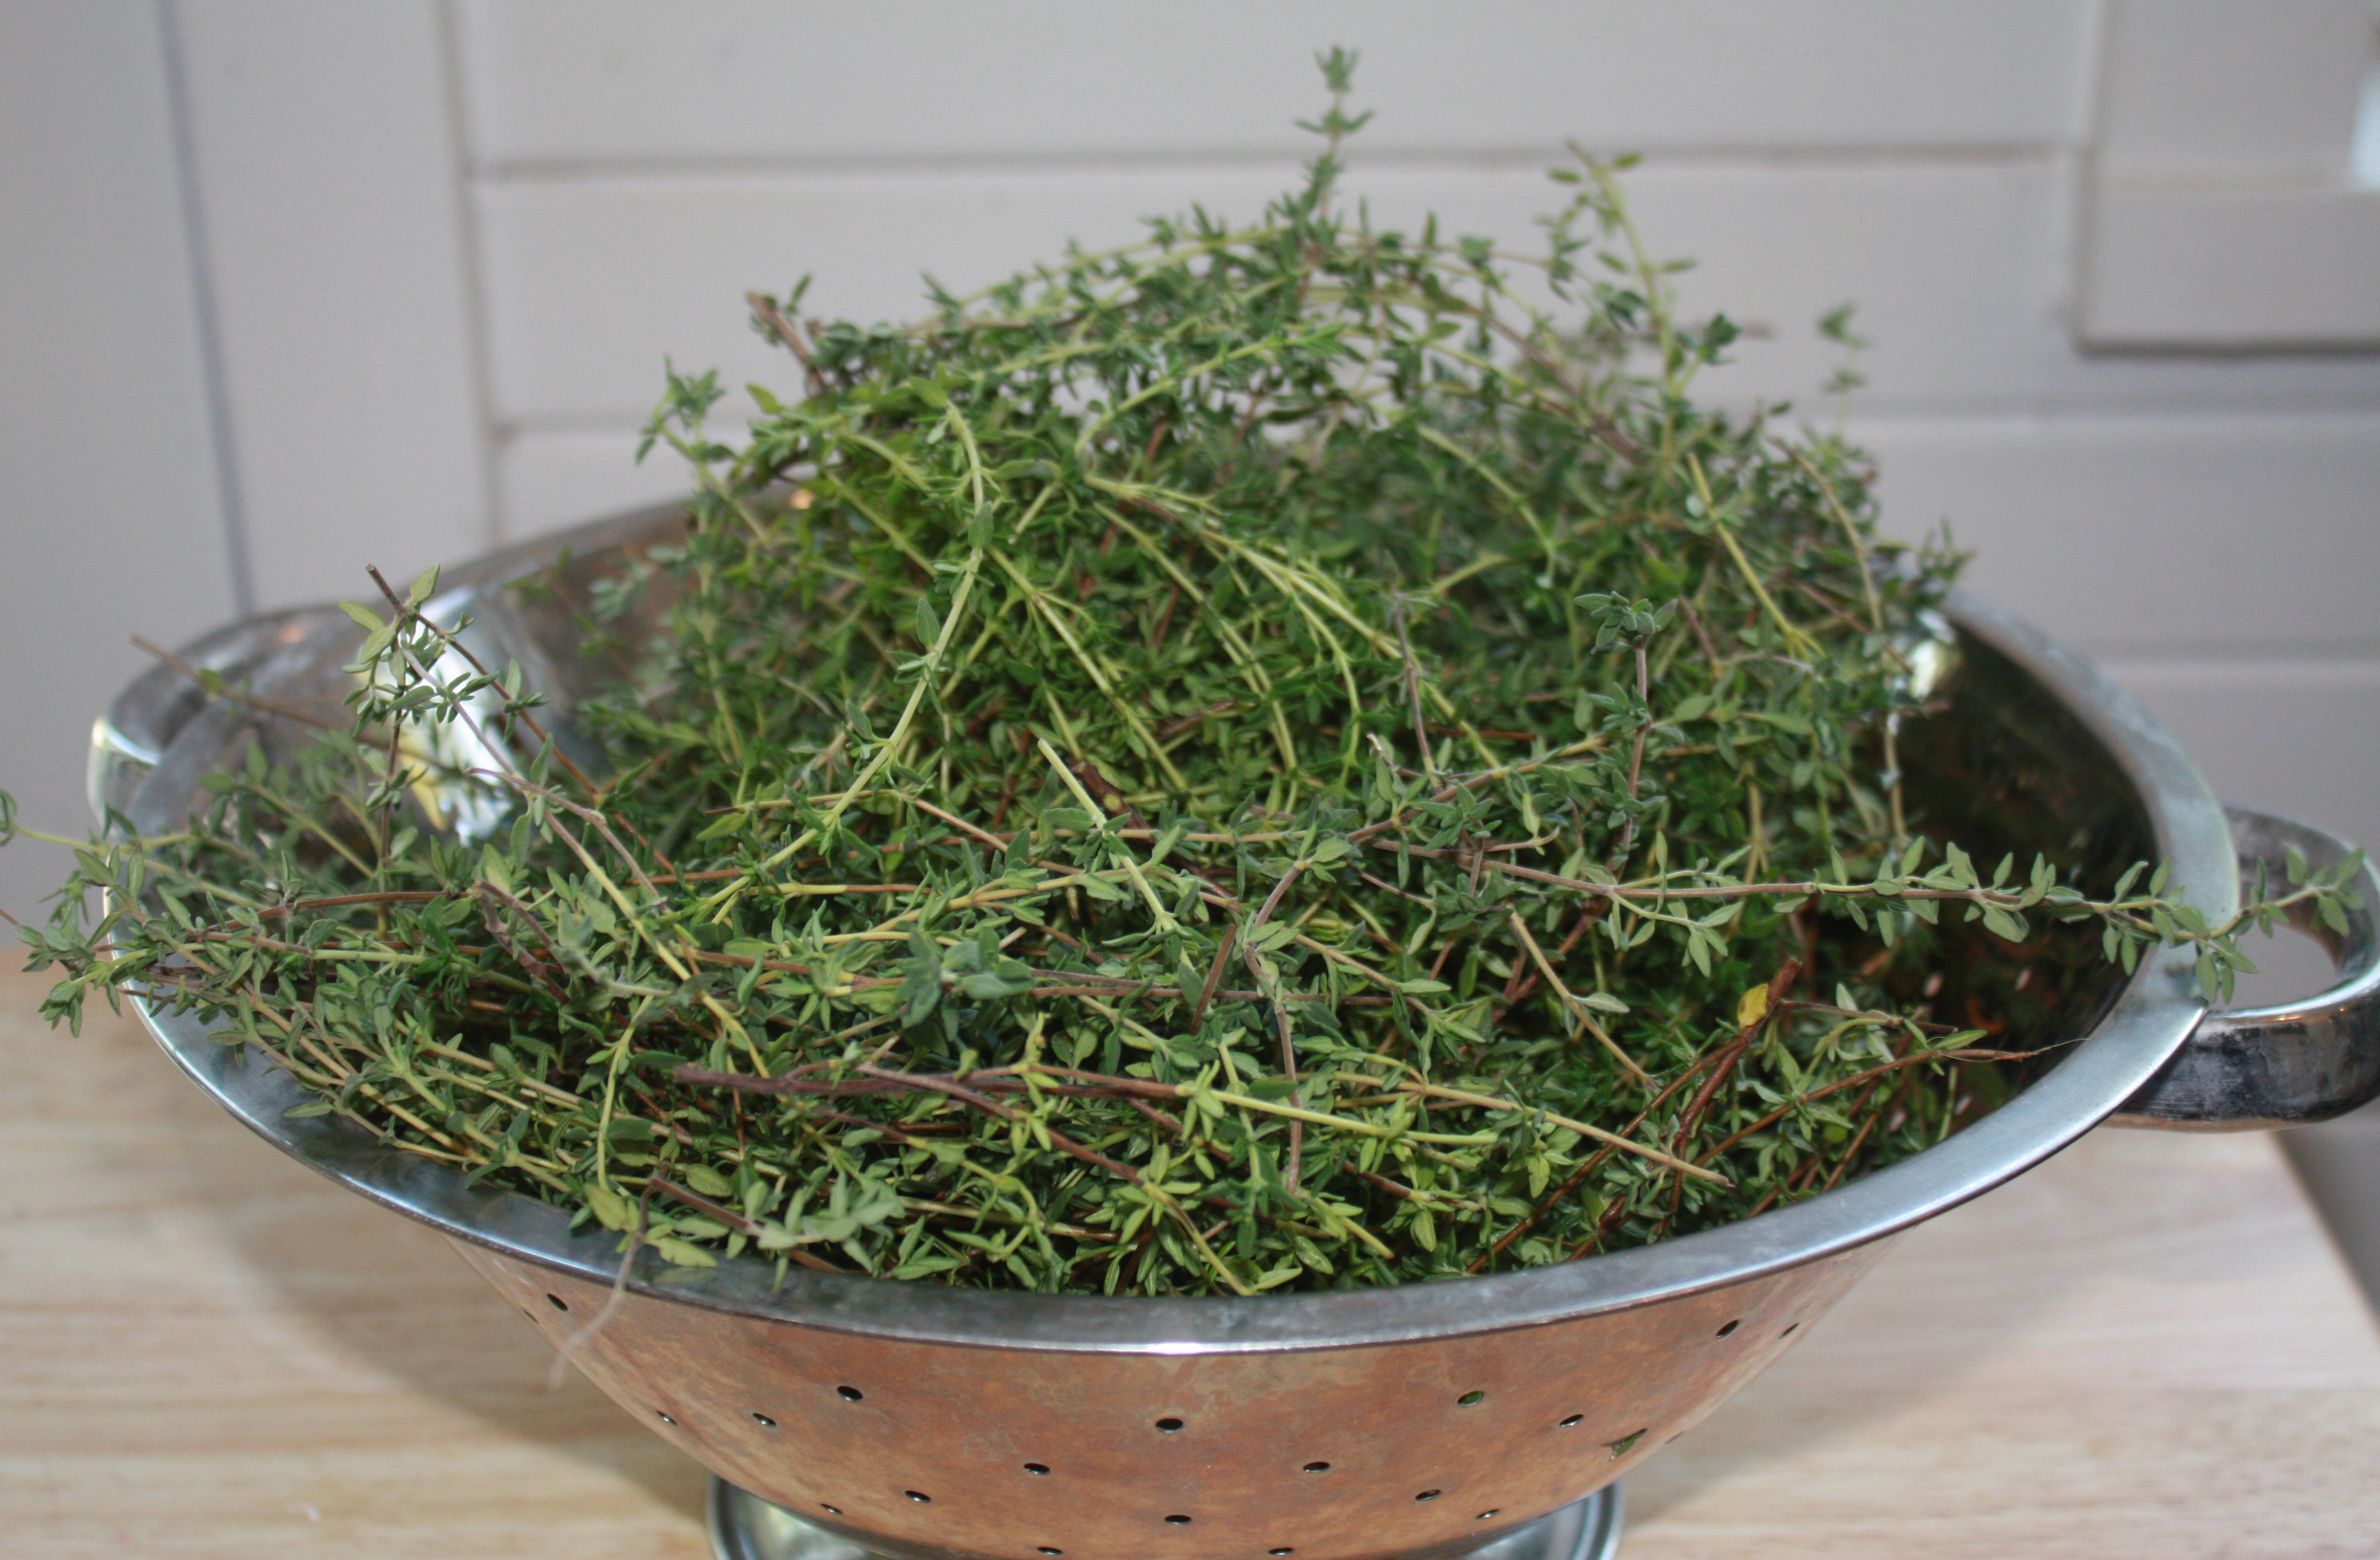
Thyme is air dry in a colander for a couple of hours

Dehydrator Drying: Place the herbs in a colander and allow airing dry for a couple of hours. Once most of the water has been removed I place the leaves in a single layer in a food dehydrator with a temperature setting between 90° and 110° F. To maximize the essential oils in the herbs, they should not be dried above 110° F. Allow the leaves to dry until crispy and store in a glass jar with tight fitting lid. I have been using my dehydrator for many years and it is my favorite method.

drying herbs

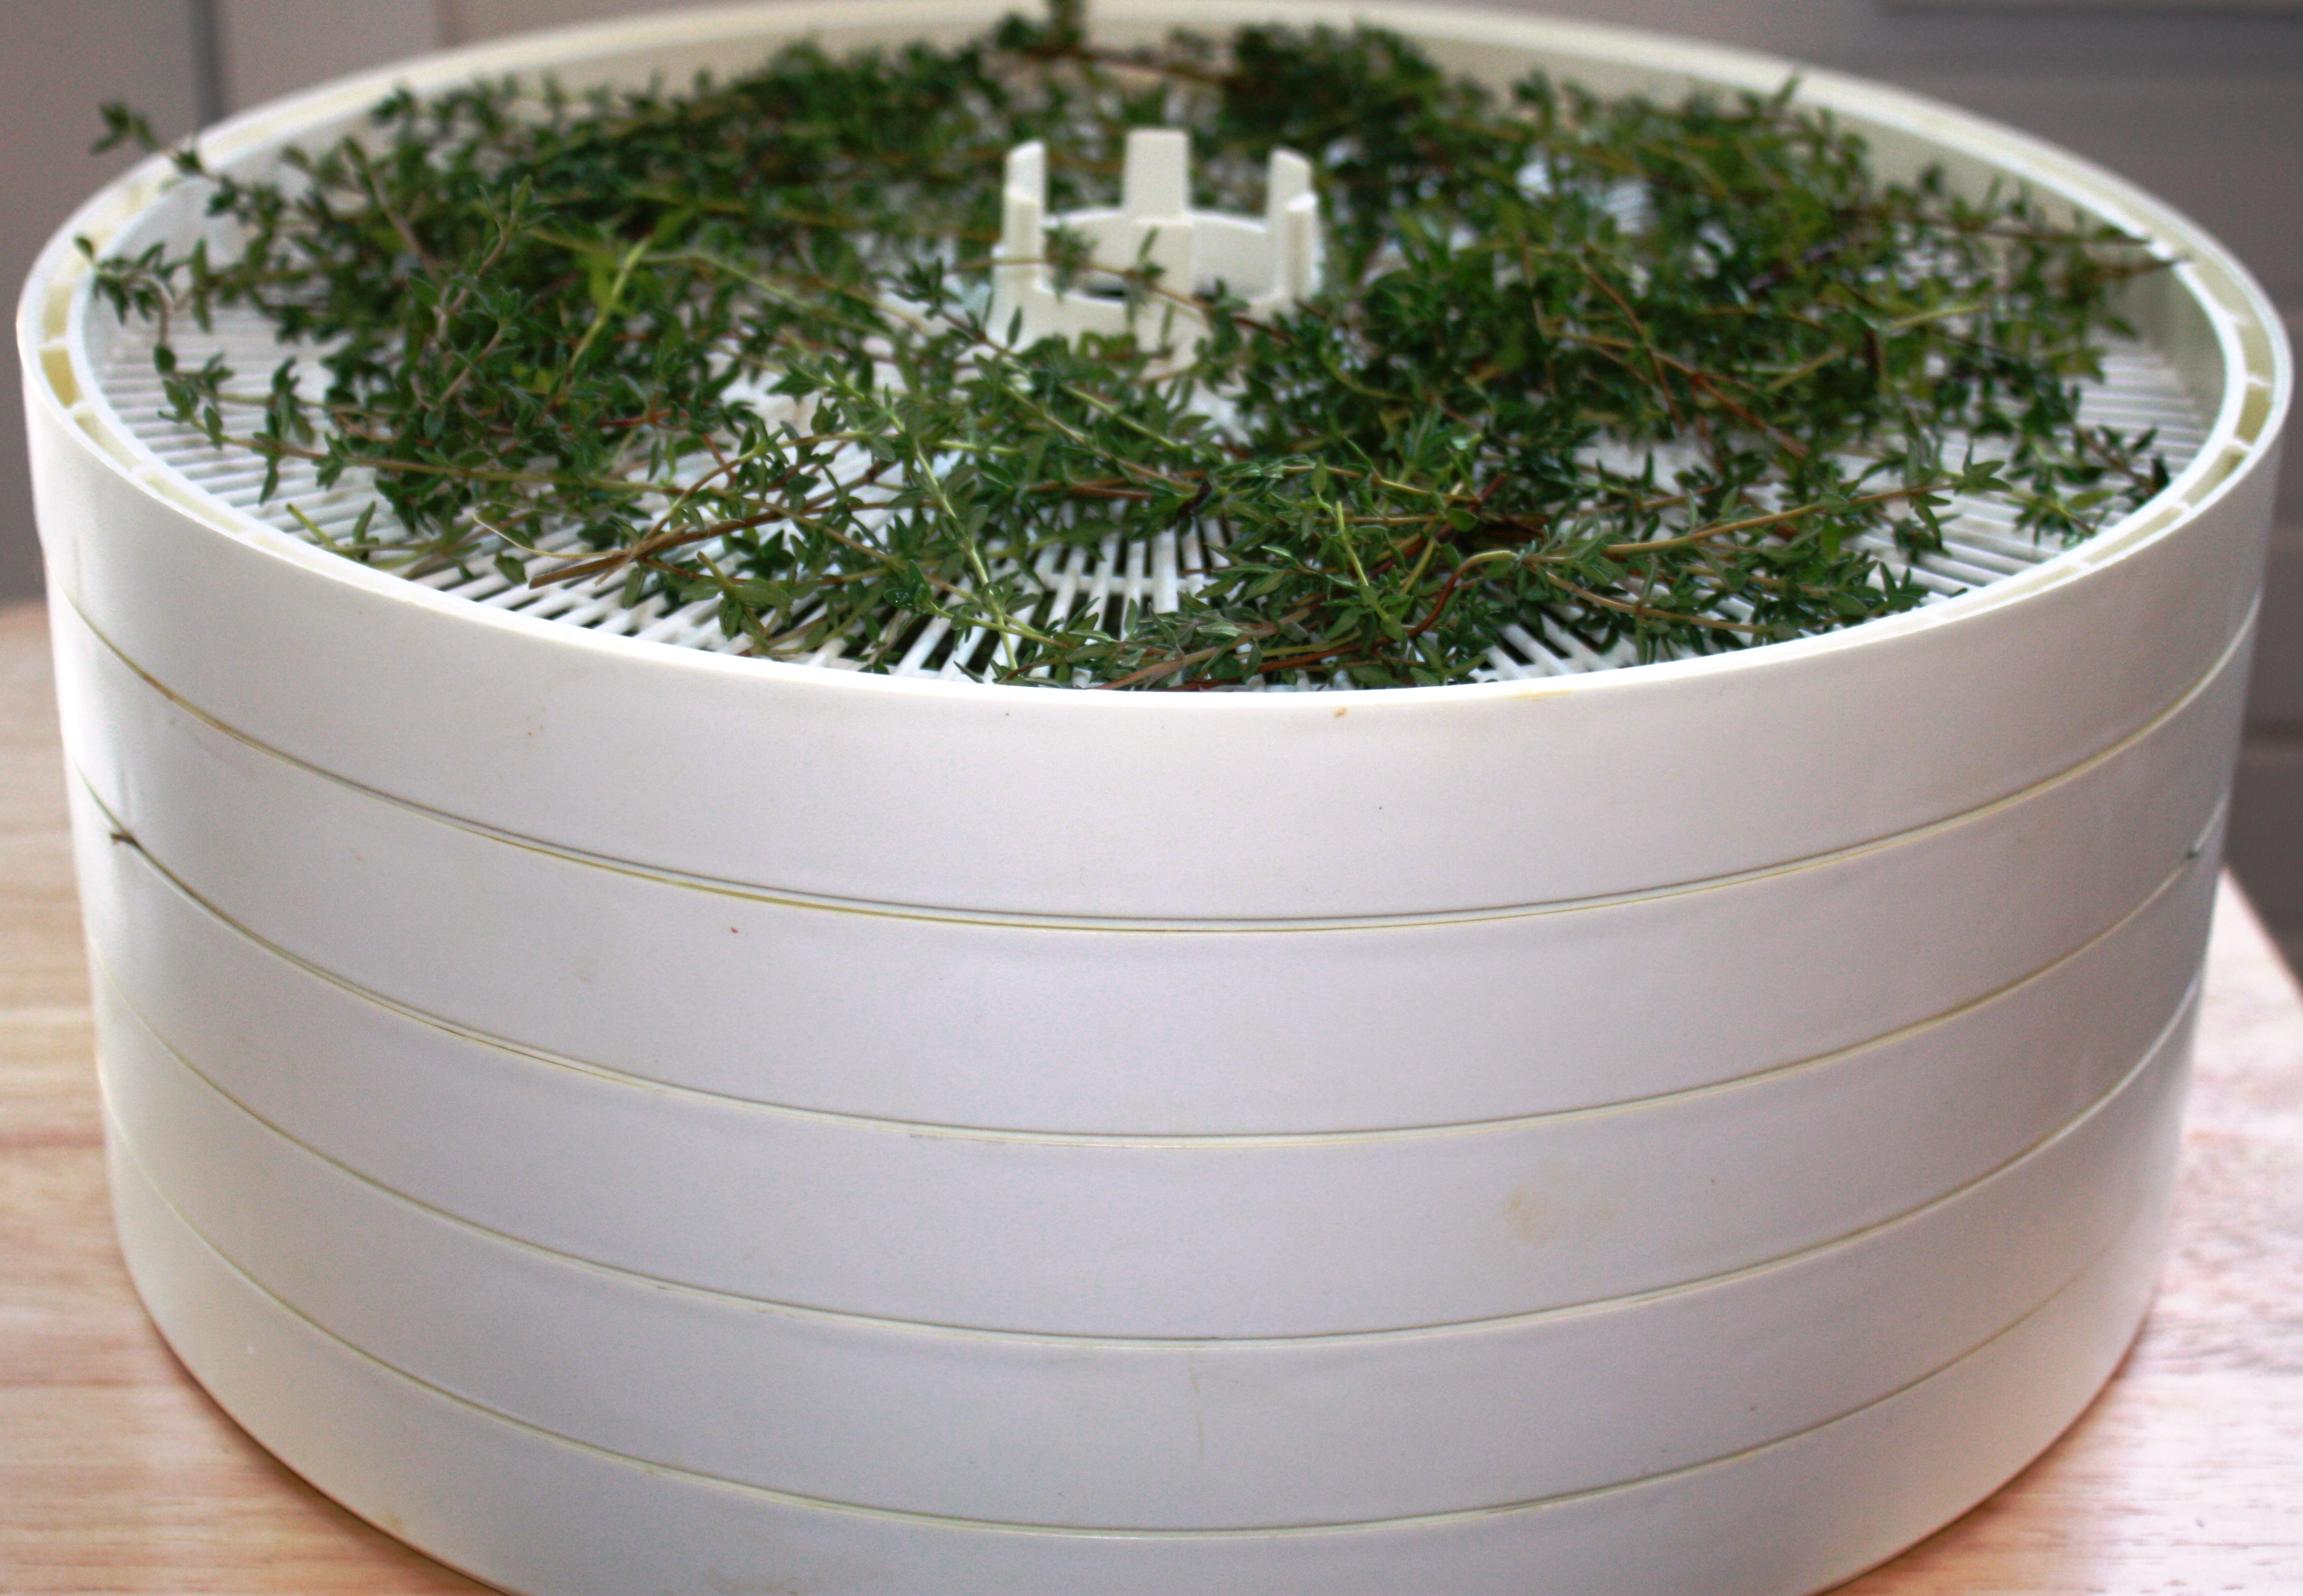
Dehydrator used to dry thyme

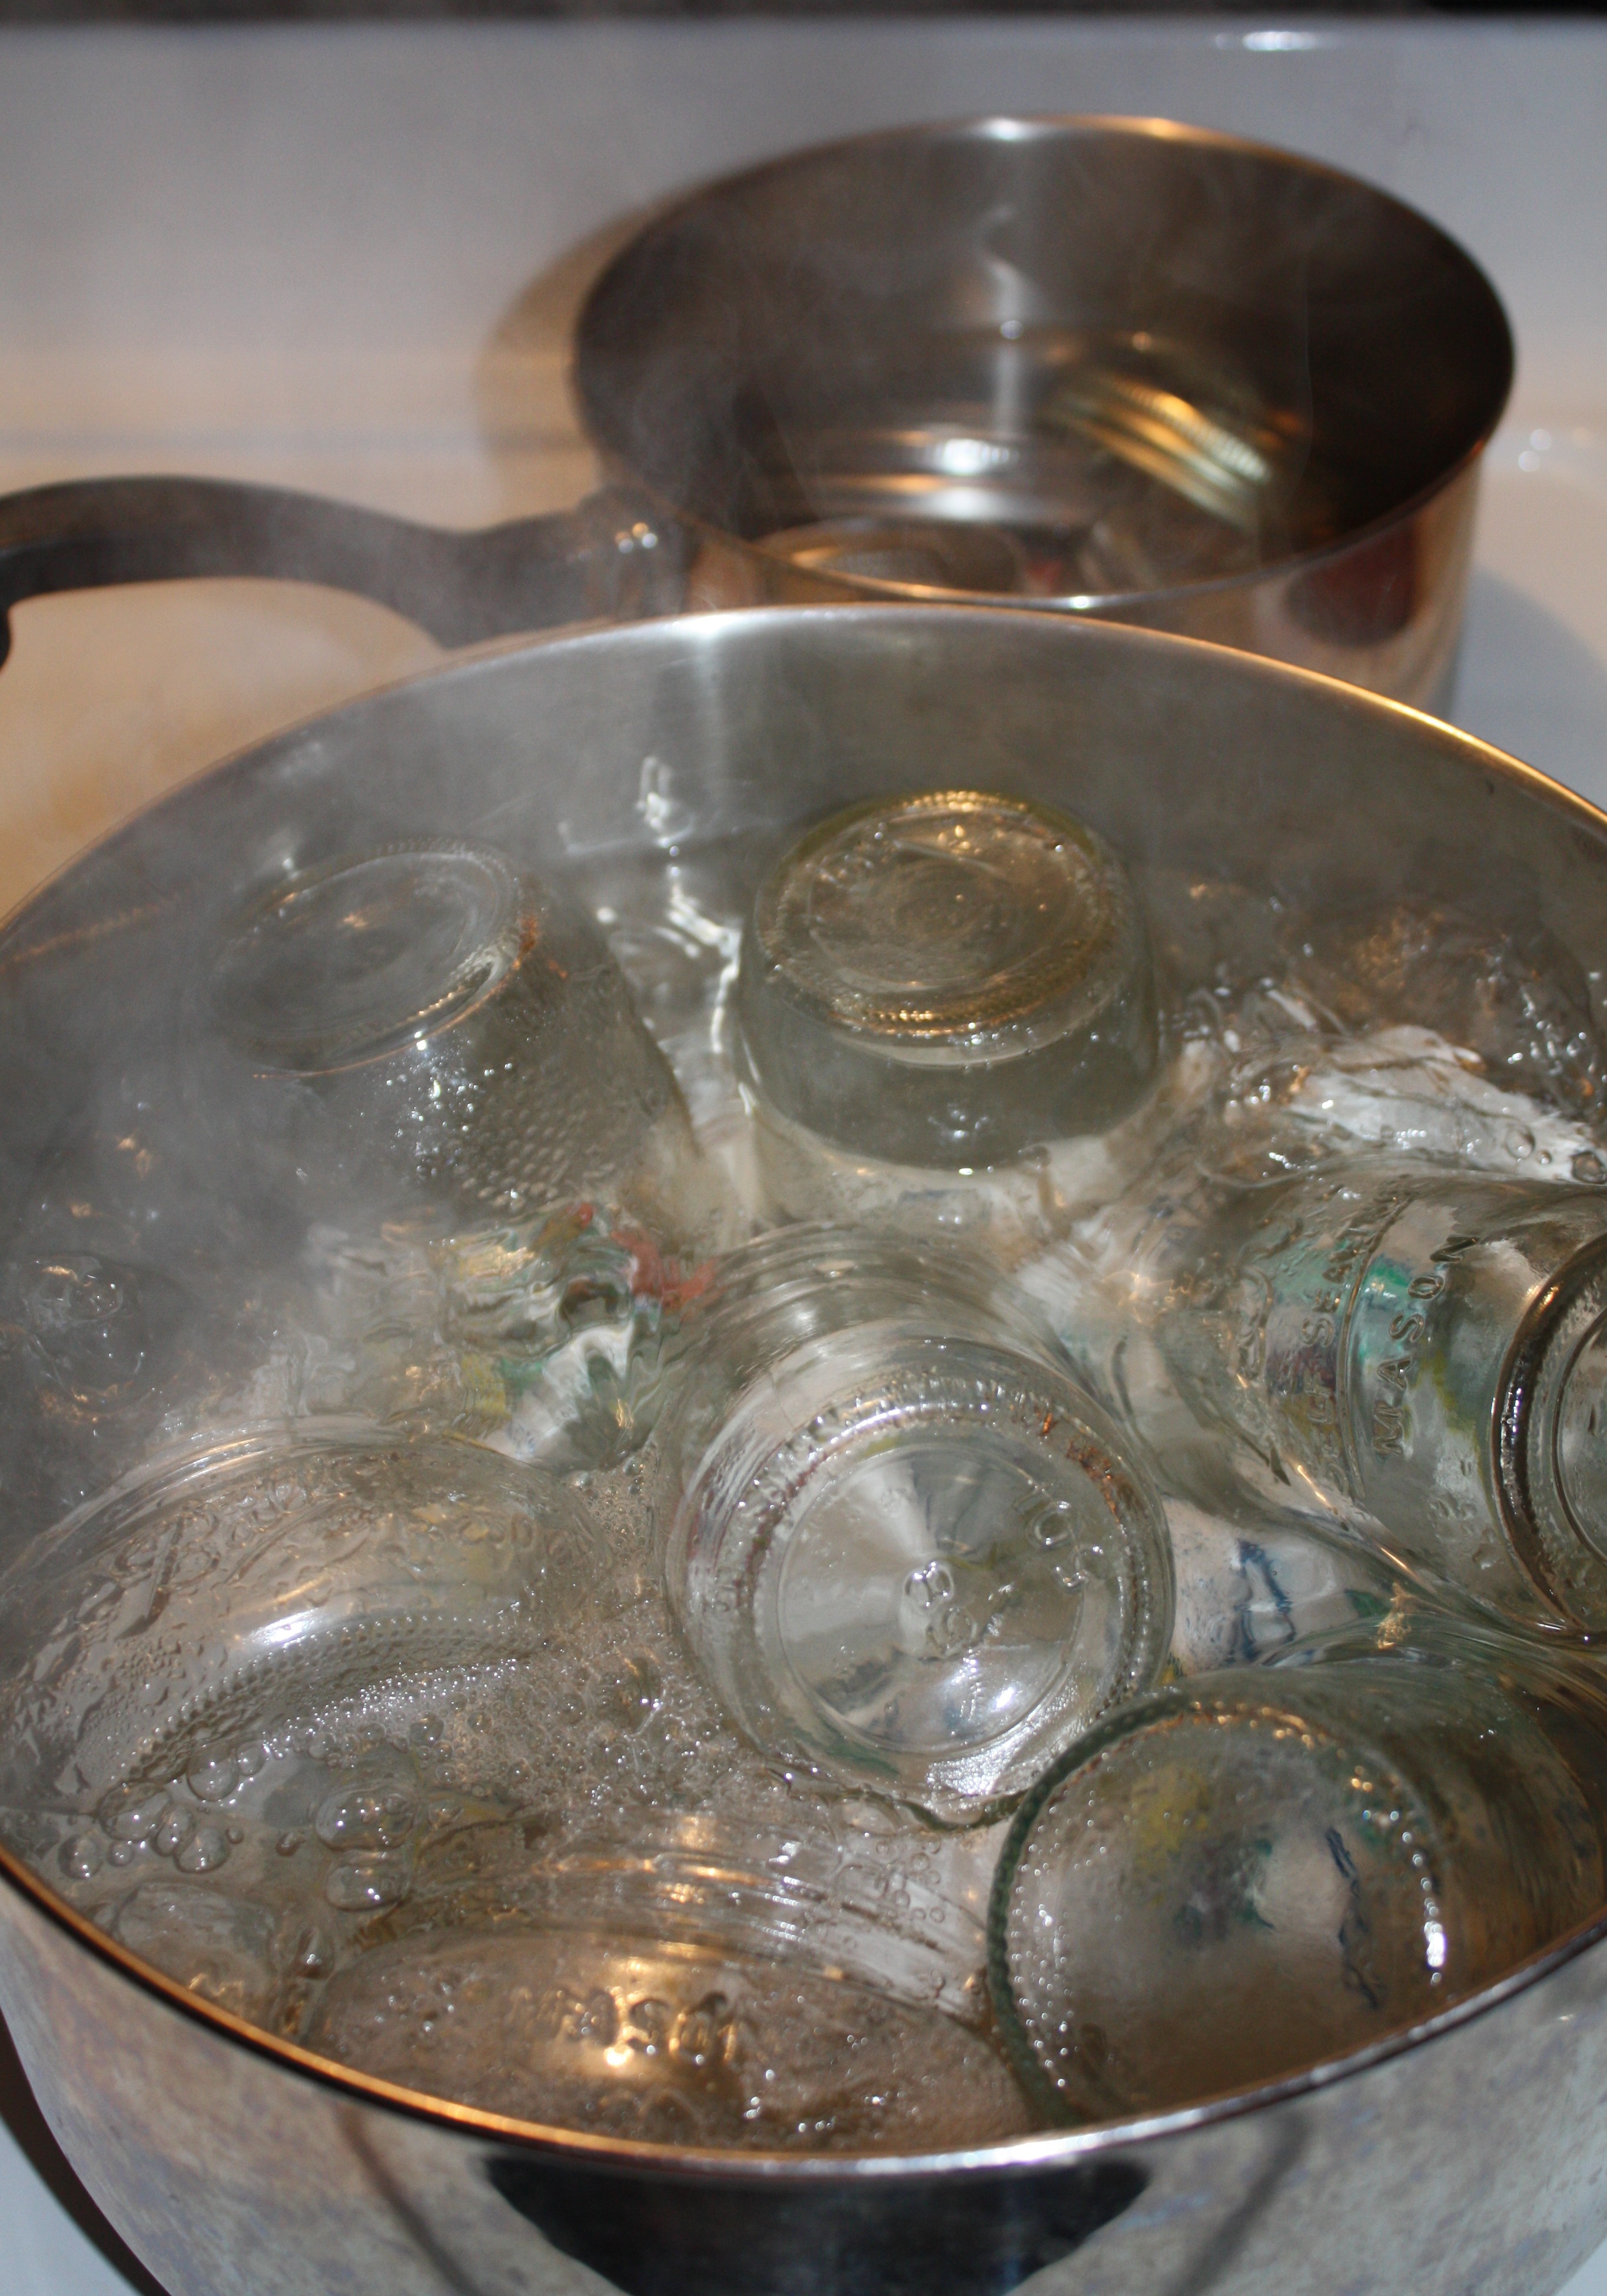
Check after a couple of days to make sure there is no condensations in the jar, if it has only been a couple of days re-dry and if it has been longer, start over.

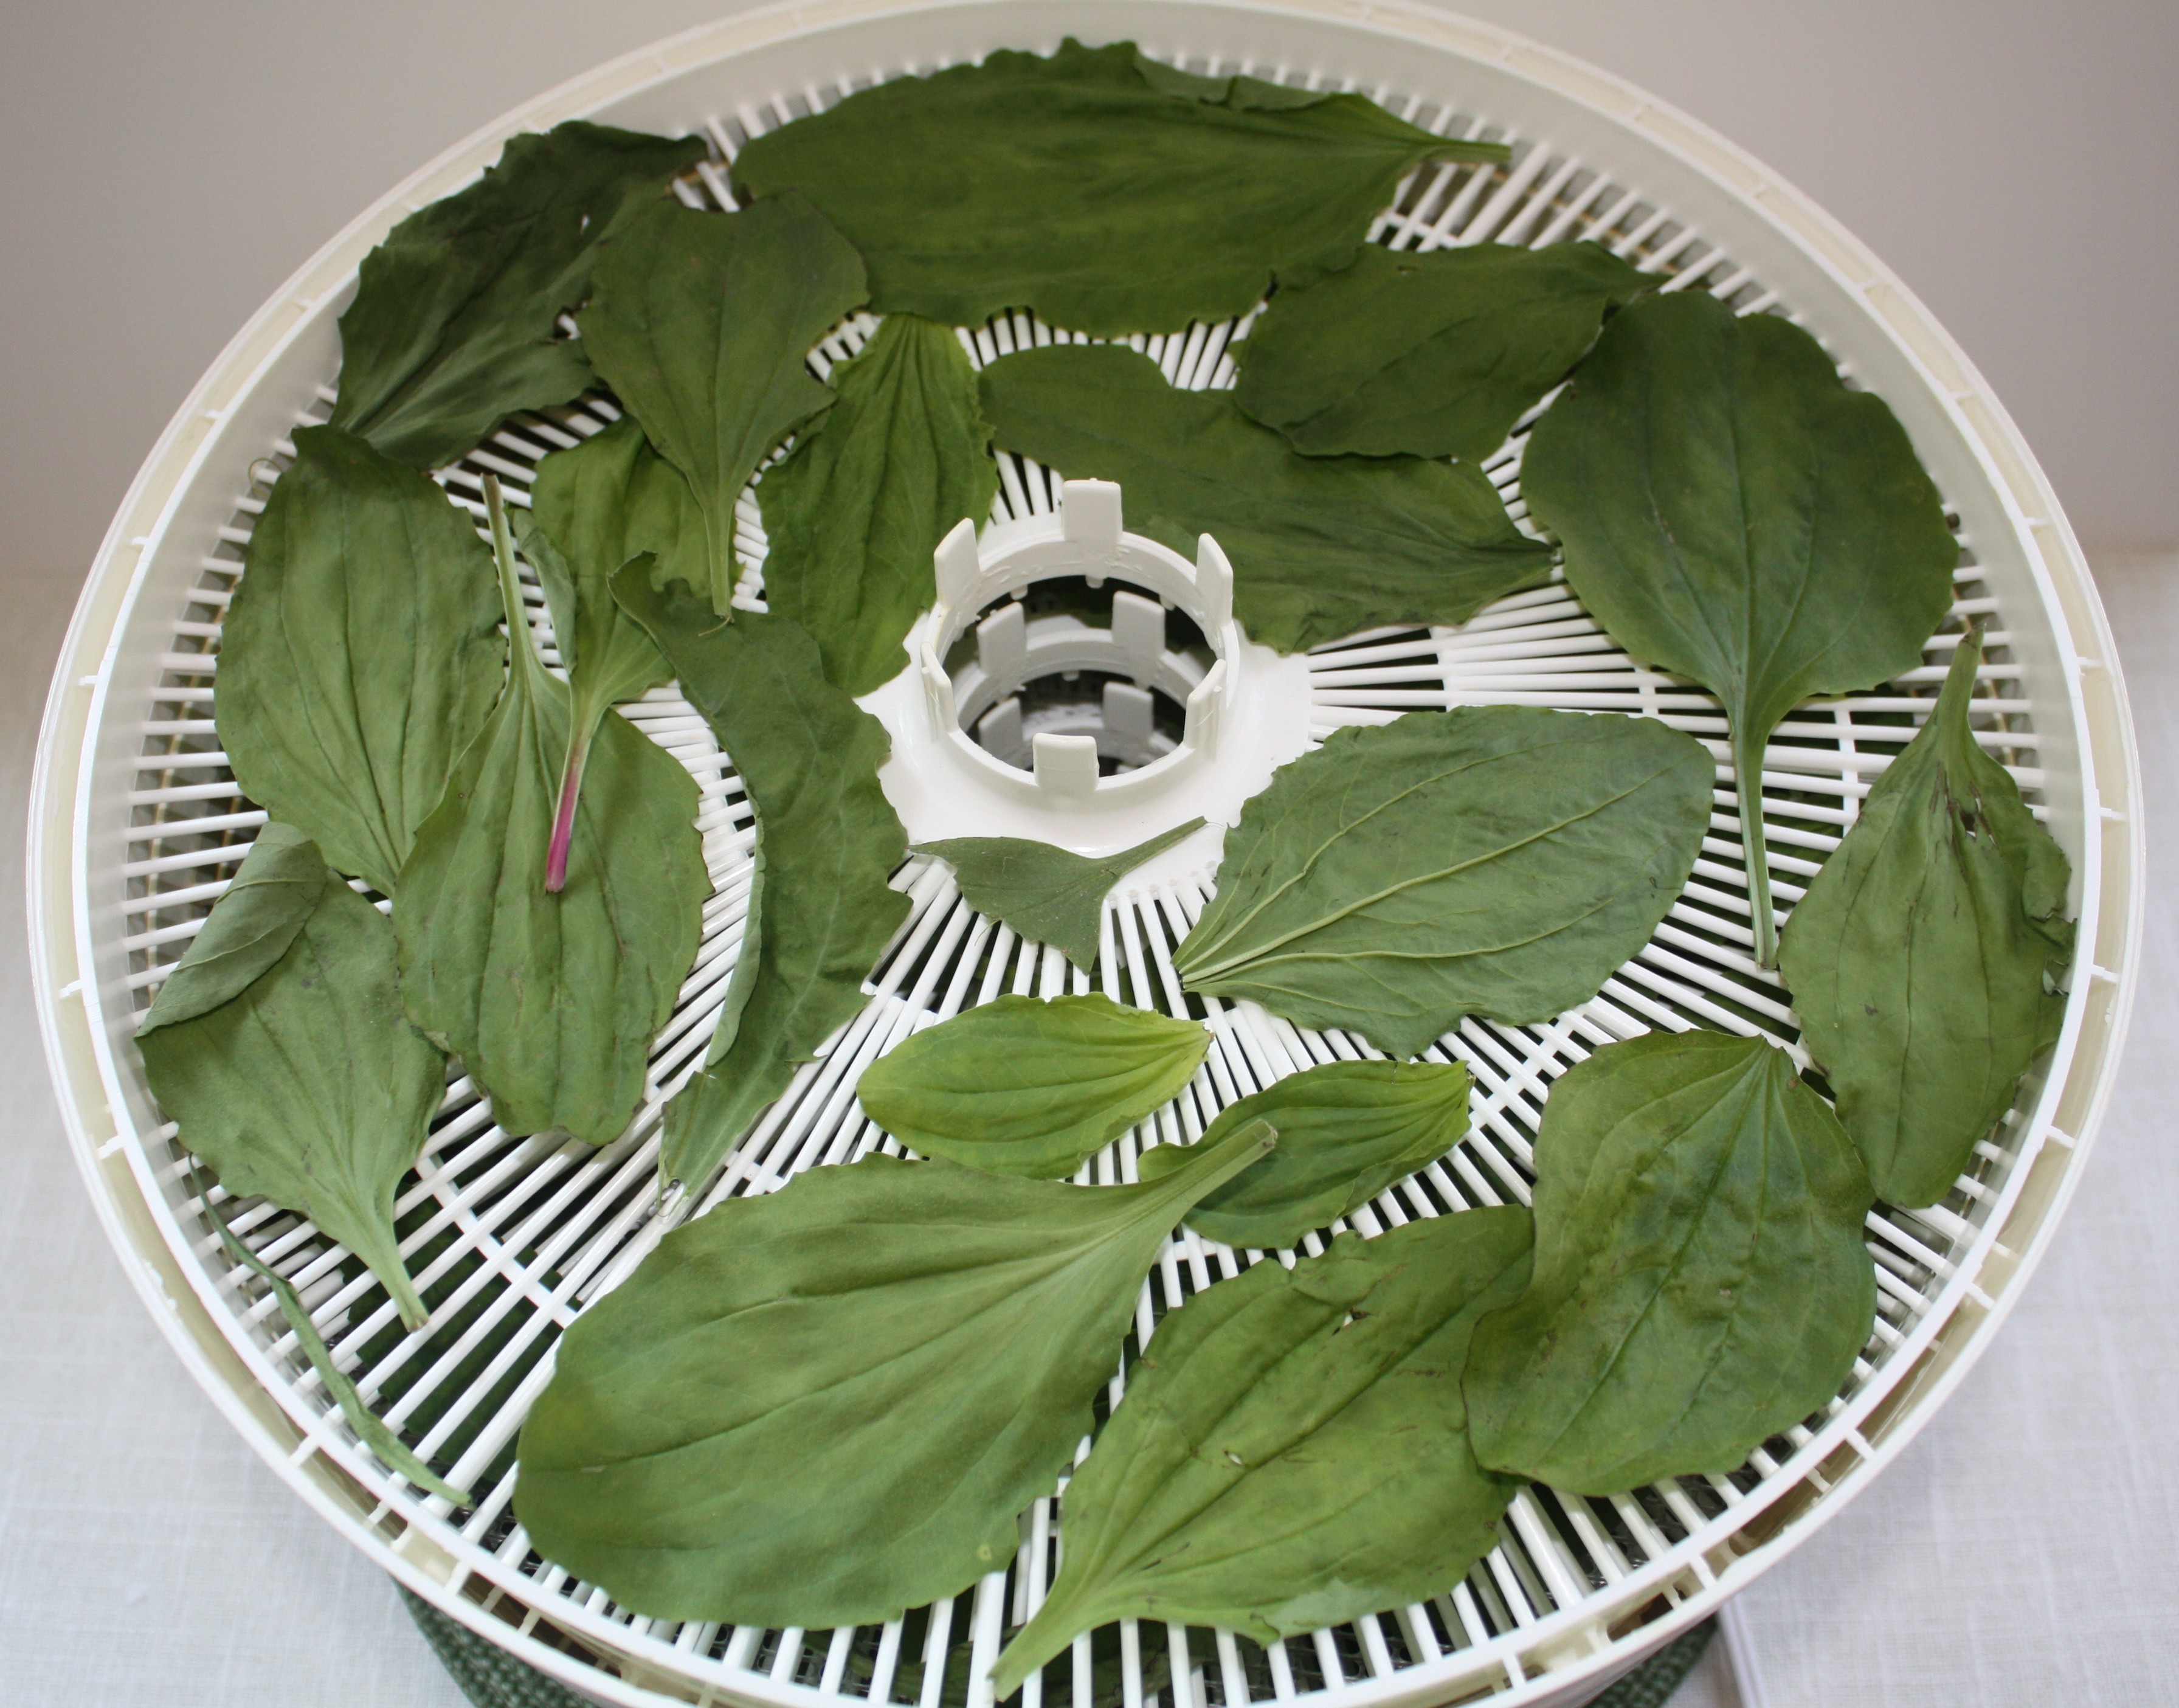
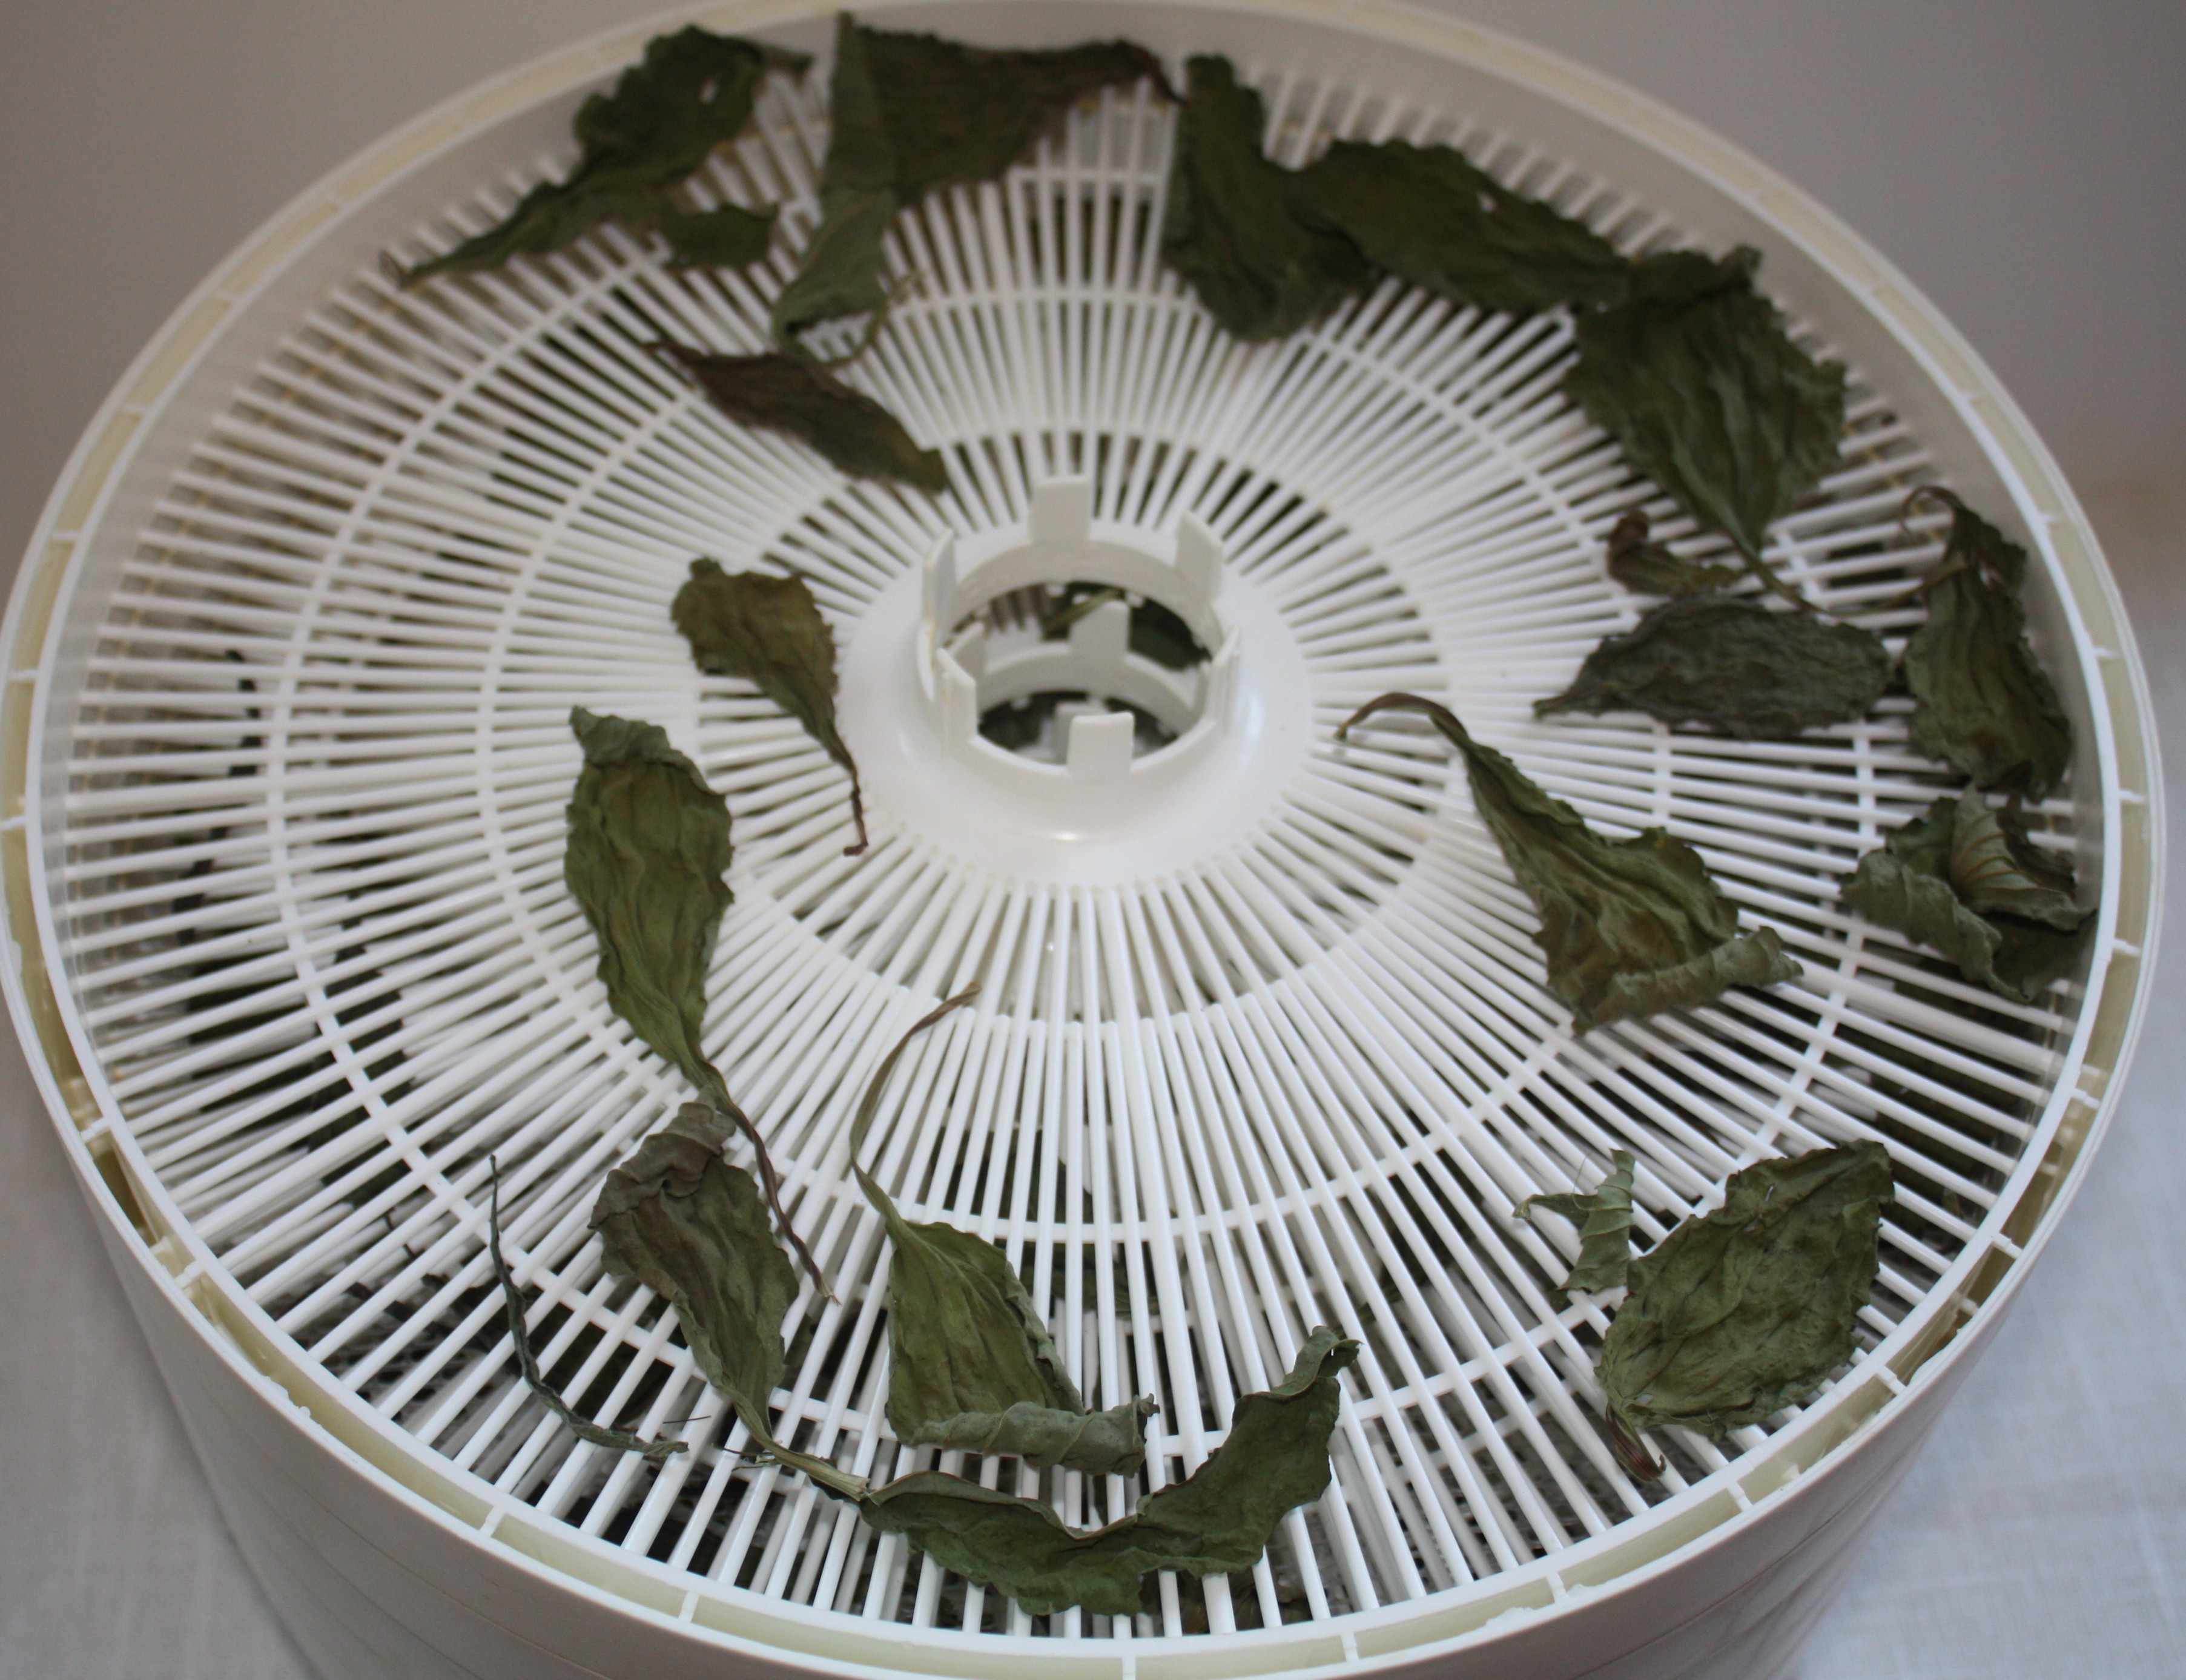
The next two pictures show a rack before drying and after drying.

Drying plantain

Plantain ready for drying at 100 ° F

After drying is complete

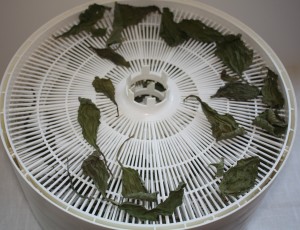
Rack after drying is complete. Plantain

Air-Hang Drying: For smaller plants, gather a few sprigs together about 6 to 8” long and place inside of a brown paper bag that holes have been cut into to allow air drying. Gather the stems together and tie the bag close with a rubber band, catching the stems with the rubber band.

Hang the bag either on a metal clothes hanger or hook and hang up to dry in a cool, well ventilated area.  It may take about 2 weeks. Check every couple of days for crispness and to turn the sack around.Once dry place the jar in a dark cupboard to retain freshness. Use within one year.

hang air drying herbs

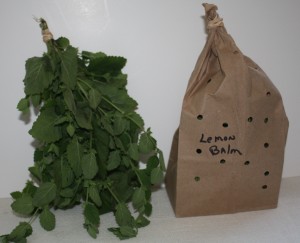
Herbs bunch to place inside paper bag

Herbs with larger leaves can be hung to dry but they take a lot of room and a large grocery paper bag. For years herbs were hung in the rafters, but most people leave them too long and they become dusty and unusable. Herbs such as bronze fennel look wonderful hanging in the rafters but this is used mostly as decoration.

Drying herbs

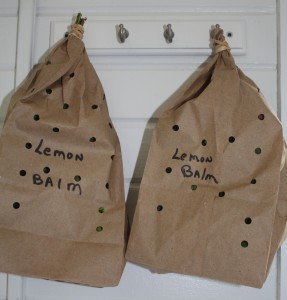
Herbs hung on hooks for air drying

Air-drying: Lay the single layer of herbs flat on either a plastic tray with holes in the tray (such as those sometimes used as nurseries) or flat baskets or screens. Place these trays on rack used for drying clothes or on shelves with circulation all around. Check every day and once dry place in jars.

Try not to crush the herbs until they are ready to use, because the essential oils and aroma are release when crushed. The inside of your jar does not need the flavor of the herb, your food or medicine does.

Check out part two for information on Harvesting and drying fresh herbs and flowers for drying seeds, flowers, roots and other methods of drying and harvesting herbs.

Spicy Hot Pad for under the Tea Pot

Spicy Hot Pad for under the Tea Pot

Place this spicy hot pad under a warm teapot or hot casserole. The heat releases the aroma of the herbs and spices used inside the hot pad. As an added bonus the quilted fabric will protect your table form the heat of the teapot.

Spicy hot pad

Making spicy hot pad

Equipment:

  • Scissors
  • Sewing machine or needle or thread
  • Iron
  • Bowl or jar for mixing spices and herbs
  • Measuring spoons
  • Plastic zip bag
  • Two 8” pieces of quilted fabric
  • Two 7-1/2” pieces of muslin for lining
  • 1 Tbsp. cinnamon sticks, crushed
  • 1 Tbsp. rosemary needles, dried
  • 1 Tbsp. whole cloves
  • 1 Tbsp. allspice berries
  • 1 Tbsp. anise seeds
  • 1 Tbsp. lemon thyme, dried

Optional ingredients: Dried crushed lemon peel, or orange peels, or make the mixture you like. Try just one of the ingredients such as cinnamon, allspice or cloves to fill the pocket.

I used quilted fabric I purchased from the fabric store, or you can quilt it yourself. To make a quilted piece: Just lay a piece of outer fabric on a low loft batting and pin and mark the fabric in one inch squares. Sew on the lines for your own quilted fabric. Repeat the process for the other piece of fabric.

Spicy hot pad with tea

Tea pot on top of spicy hot pad

Quilted Top: Lay the two quilted pieces right side together and sew around leaving an opening for turning. Clip the corners to reduce the bulk. Turn inside out and work a pointed stylus in the corners to pull them out as much as possible. Iron paying attention to the opening and turn under the edges for easier closing.

Pocket: Lay the two muslin pieces together right side together, if they have right sides, and sew repeating the process above. Don’t forget to iron once they have been turn right side out. Top stitch around three sides of the piece before filling, it makes it easier to top stitch the last side after filling.

Spciy hot pad and tea pot

Hot pad ready for your tea pot

Filling: Mix the spices and herbs in a glass jar and shake to mix. Cap the jar and allow the filling to intermingle the fragrances.  You will have enough filling to make two spicy hot pads.

Fill the pocket with about 3 Tbsp. of filling.  Before stitching, lay the spicy hot pad flat and check to see if it is too full to allow the tea pot to stay flat. May need to crushed the filling a bit more.  Top stitch the fourth side of the spicy hot pad close. The stitches should be fairly close together to keep the powder the filling may create inside of the pocket.

Place the pocket inside of the quilted pieces and top stitch close on the forth side. I found I need to hand stitch the opening close before top stitching, because of the quilted fabric. Try and catch the pocket inside with the top stitching to keep the pocket from bunching.

Store the spicy hot pad inside of a plastic zip bag to keep the aroma fresh and to show off your work.

To Use: Place a hot tea pot on the spicy hot pad and allow the aroma to be release. Use an aromatic herb tea and the whole room has a wonderful fragrance with a spicy undertone. The spicy hot pad should not be washed. If the pad gets dirty sponge the stain off and allow to dry. You may use a small zipper in the quilted piece to remove the inside pocket to wash the quilted cover.

Spicy hot pad

Mom’s Hot pad ready for mother’s day or birthday

Enjoy!

Clothes Dryer Sachets

These little sachets bring a wonderful smell to your freshly washed sheets and linens. The mixture of lavender, rose and rosemary may help with sleep as well as headaches. Image the smell of your  sheets may actually help improve your sleep.

Lavender has the added benefit of helping with headaches, sleep, calming, depression and may even affect your dreams.

Lavender essential oil is soothing, antiseptic, good for insomnia, and will help repel insects.

Rosemary is known for remembrance and to help keep away bad dreams and ease body aches.

Rosemary essential oil is good for fatigue, circulation, headaches, pains, and might encourage hair growth. Well who knows!!

Rose petals are known for loving thoughts.

Rose essential oil is good for stress, headaches, relaxing, anti-depression, astringent, and antiseptic.

Granted the small amount of scent on your sheets may not offer all these benefits, but who knows maybe your sheets may help you sleep.

Dryer sachets

Supplies for dryer sachets

Recipe:

  • 1/2 c. dried lavender flowers
  • 1/2 c. dried rose petals
  • 1/4 c. dried rosemary leaves
  • 5-6 drops lavender essential oil
  • 4-5 drops rosemary essential oil
  • or any essential oils of your choice

Mix in glass bowl and add essential oils. Plastic should not be used because essentials can be absorb by the plastic.

These bags can be made with just lavender. And as a added bonus these bags can be stored with your woolen linens to help repel moths.

Peppermint can be used instead of one of the above herbs and is known for repelling insects. I use peppermint in my shed to ward off mice. It works until the smell is gone and I forget to refresh the peppermint oil.

dryer sachet bags

The bags for dryer sachets

To make the dryer sachets: Makes 4 sachets

In the above picture I sewed one of the sachet using a dark color so they would show up in the picture. Normally I would match the thread to the fabric.

Fabric used in this project should be white, muslin or light,plain cotton or broadcloth material. These dryer sachets are thrown in with the wet clothes and colored fabric might bleed on the clean clothes.

  1. Cut eight 5 inch squares of fabric. This makes 4 finish dryer sachets.
  2. Place two squares of fabric right sides together. Pin if necessary.
  3. Sew around three sides leaving a two inch hole for turning on the forth side.
  4. Back stitch at opening for added support when turning.
  5. Cut corners about 1/8″ from stitching to remove excess bulk.
  6. Turn inside out and iron.
  7. Top stitch three sides of the squares. It is easier to top stitch before dry material is added.
  8. Divide the dried mixture, about 4 Tbsp for each mixture.
  9. Fill the bag using the hole in the fourth side.
  10. Pin close.
  11. Top stitch the forth side to close the opening.
  12. Store in a glass jar with tight fitting lid.

Throw these clothes dryer sachets in your dryer each time you wash sheets or linens. These sachets can be used several times.

Just before each use, rub the sachet between your hands (if you are not allergic to any of the materials) to release the fragrance.

Remove about half way through drying time and place back in the jar.

I hope you enjoy these little clothes dryer sachets.


Spicy Mug Rugs

Spicy Mug Rugs Gift packet

Spicy Mug Rugs Gift packet

These fun little herbal mug rugs make a great gift anytime you need just a little something, such as a house warming present, teacher’s gift, mother’s day gift or friend’s gift.

They may great additions to a Gift Basket. Make up a basket with special teas, pretty mug, spicy mug rugs and other tea accessories.

Add a card to the mug rugs, explaining how to use. On the card I write:

SPICY MUG RUGS

Place a cup of hot tea on these spicy mug rugs to release the aroma. When not in use, store in plastic bag to retain the aroma for the next time. Enjoy!

Mixture:

  • 1 part cinnamon chips, cut into small pieces
  • 1 part. whole cloves
  • 1 part. nutmeg pieces or chips
  • 1 part. allspice
  • 1 part. rosemary needles

Or any mixture you like. This a great way to use up those old spices and dried herbs in your cabinet. Or you can just use cloves, or how about pickling spices? Stay away from ground spices unless you make a muslin liner to hold the spices, otherwise they might leach through the rug.

NOTE: Be careful and not leave these rugs on a wooden or cloth table, because again they might leach. Spices contain an oil that can affect your finish.

Equipment need for Spicy Mug rugs

Equipment need for Spicy Mug rugs

Equipment:

  1. 4 or 8 pieces of fabric 5-1/2″ square
  2. 4 or 8 pieces of low loft quilt batting 5-1/2″ square, can be a tad smaller
  3. Thread to match
  4. Sewing needles and pins
  5. Sewing machine or hand sew
  6. Scissors
  7. Spoon
  8. Spicy mixture
  9. Stylus for turning corners
  10. Ribbon for finish product

Cut fabric and batting into squares. If making two mug rugs, you will need 4 pieces of batting and 4 pieces of fabric. If making 4 finished mug rugs, you will need 8 pieces of each.

I like to use cotton fabric. Might add monogram initial to center for an elegant look.

Layer a piece of batting, place two squares of outer fabric, right side together, and top with layer of batting.

The finished piece has the batting on the inside with the right sides of the fabric facing out.

Pin together and place pins around with one end having two pins showing where to leave an opening for turning, it should be about 2 inches apart.

Sew around using a sewing machine or hand sew leaving the opening, Back sew at opening to reenforce the turning hole. Iron.

Trim off the excess batting next to 1/4″ stitching line and trim the corners for ease of turning. Check the back mug rug in above picture. Turn inside out and use the stylus to ease the corners. Iron.

Using a spoon small enough to fit inside the hole, add about 2 Tbsp. of the mixture between the batting layers. Fill over a paper to catch any spills.

Pin the opening close and whip stitch or top stitch around. Be sure opening is closed so the mixture will not fall out.

Move the spices around to evenly distribute the mixture.

To use: Place a hot cup of tea on the mug rug and smell the spicy aroma. It may need a little crunching to release the aroma.

To help retain its fragrance, store in a plastic bag or a box lined with plastic.

Note: It is not a good idea to leave the Spicy Mug Rug on a wooden table, because the oils from the spices may leach out.

Happy Crafting!


Christmas Crafting with Herbs

In my neck of the woods spring is comin’ At lease we hope so. As if we didn’t have anything else to think about in the spring, how about planning the herbs you want to use in making your Christmas gifts. I love to make herbal vinegars, herbal spice mixtures, herbal cosmetics, and potpourris just to name a few.

These all require growing the herbs I need to make my Christmas gifts. I know it is several months away but while you are planning the garden don’t forget the Holidays are coming one of these days. Of course we do have other times of the year we can make gifts such as birthdays, Mother’s Day and just because.

If you plan now, you might not be faced with the upcoming holidays and wondering what you are going to make everyone. With just a little planning it makes life and gift making so much easier.

So make your list and check it twice and know what is naughty or nice. Herbs I mean, after all if you have ever grown mint or mugwort you know what I mean by naughty. Nice are those herbs that stay where you plant them. Few that they are.

Here is some of the herbs I like to have in my garden for gift giving.

  • Rosemary
  • Sage
  • Thyme, all kinds especially lemon thyme
  • Mint, chocolate (makes a great jelly)
  • Chamomile
  • Southerwood
  • Mugwort (this spreads)
  • Lavender
  • Scented geranium
  • Yarrow
  • Oregano
  • Marjoram
  • Santolina
  • Lemon balm
  • Lemon grass
  • Lemon verbena
  • Rose
  • Tarragon
  • Chives

Now is the time to plan your garden and checking then twice, their growing habits of course.

If they spread, if they like sun, or partial shade and how much water do they need. Draw out your garden map, and think about what you might add this year as well as next. Not all plants you want to plant have to be planted this year.

Most garden’s plans show what to grow now and what can be grown in the future. Some herbs can be started from seed, not mint, so start your seeds indoors to reduce the cost.

After all one of the reason we make our Christmas gifts is to save cost, of course I always seem to spend more than if I just went out and bought my gifts.

Happy Herb Gardening